Heavy Equipment Hydraulic Hose Inspection & Replacement Guide
Learn how to inspect, maintain, and replace hydraulic hoses on heavy equipment. Prevent costly blowouts with proper inspection intervals and techniques.
Key Takeaways
- Hydraulic hose failures account for up to 50% of all hydraulic system downtime on heavy equipment
- Visual inspection should happen daily, with detailed hands-on checks every 500 hours
- Hose lifespan is typically 1–3 years depending on application, pressure, and environment
- A single blowout can cost $5,000–$20,000+ in downtime, cleanup, and environmental fines
- Proper routing and protection can extend hose life by 40–60%
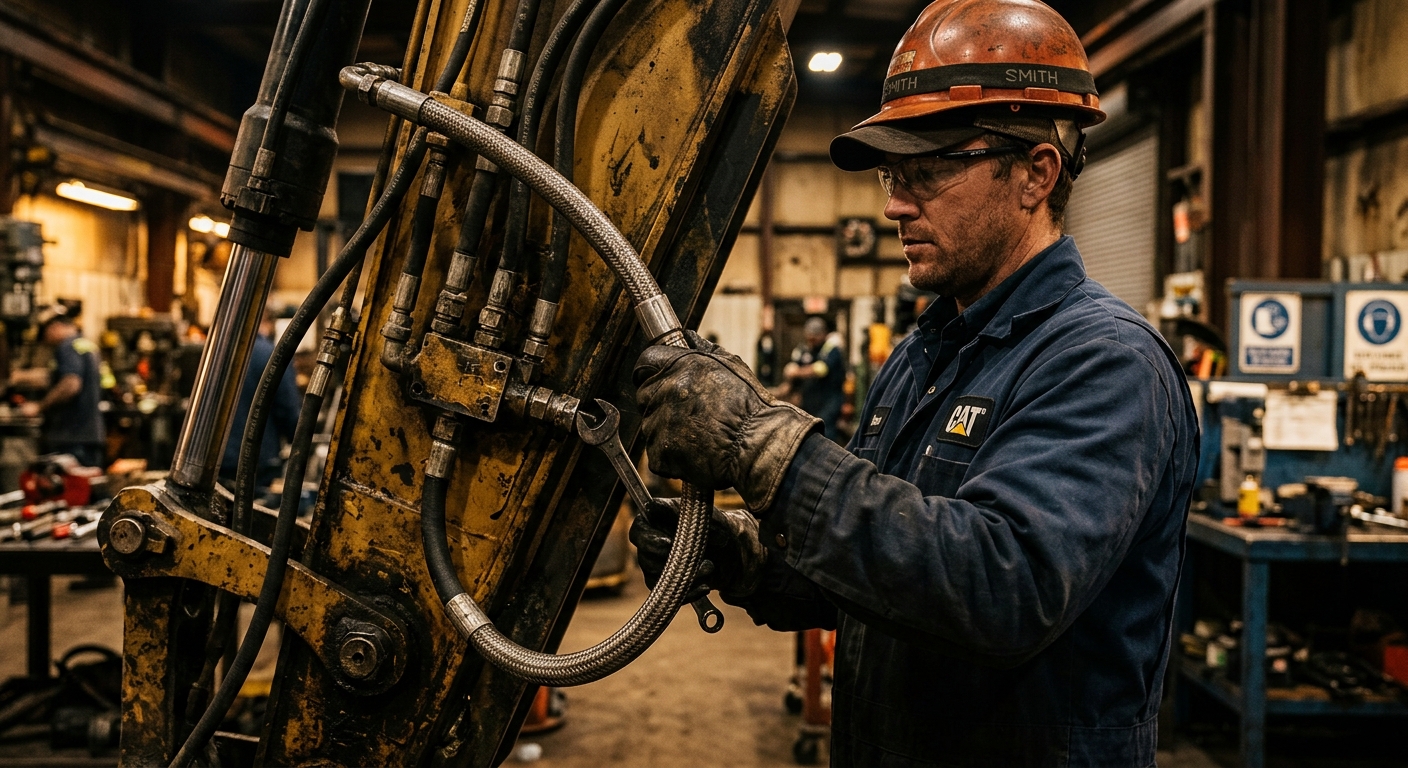
Hydraulic hoses are the circulatory system of every piece of heavy equipment. They carry pressurized fluid — sometimes at 5,000+ PSI — to cylinders, motors, and valves that make your machine work. When a hose fails, everything stops.
Yet most operators treat hoses as an afterthought until one blows. That’s a mistake that costs fleets thousands of dollars annually in unplanned downtime, environmental cleanup, and emergency service calls.
This guide covers everything you need to know about inspecting, maintaining, and replacing hydraulic hoses before they take your equipment — and your schedule — offline.
Why Hydraulic Hoses Fail
Understanding failure modes is the first step to prevention. Hydraulic hoses don’t just randomly burst — they degrade through predictable mechanisms.
Abrasion
The number one killer. Hoses rubbing against metal frames, other hoses, or rough surfaces wear through the outer cover and expose the reinforcement wire. Once that wire is compromised, failure is just a matter of time and pressure cycles.
Heat Degradation
Hydraulic hoses routed near exhaust manifolds, turbochargers, or engine blocks cook from the outside in. Temperatures above 250°F (121°C) accelerate rubber hardening and cracking. Internal heat from fluid exceeding 180°F (82°C) degrades the inner tube material.
UV and Ozone Exposure
Hoses on the exterior of equipment take constant UV bombardment. Over months and years, the outer rubber cover dries, cracks, and splits. Ozone — present in higher concentrations near electrical components — accelerates this process.
Improper Assembly
Crimped fittings that are too loose leak. Fittings crimped too tight cut into the hose reinforcement. Either way, the connection point becomes the weakest link. Studies show 25% of premature hose failures originate at the fitting.
Exceeding Pressure Ratings
Using a hose rated for 3,000 PSI in a 5,000 PSI circuit doesn’t just risk failure — it guarantees it. Pressure spikes from rapid valve actuation can momentarily exceed system pressure by 30–50%, so adequate safety margins matter.
Minimum Bend Radius Violations
Every hose has a minimum bend radius specified by the manufacturer. Force a hose into a tighter bend and you kink the reinforcement, restricting flow and creating a stress concentration point that will eventually rupture.
Daily Visual Inspection Checklist
Your daily walkaround should include a quick scan of all visible hydraulic hoses. This takes 3–5 minutes and catches problems before they become emergencies.
Pro Tip: Do your hose inspection with the engine OFF and hydraulic pressure relieved. A pinhole leak at 3,000 PSI can inject fluid through skin — a medical emergency that requires immediate surgery.
What to Look For Every Day
- Wet spots or drips at fittings and along hose lengths
- Bulges or blisters in the hose cover (internal reinforcement failure)
- Exposed wire braiding from abrasion wear-through
- Kinks or sharp bends that shouldn’t be there
- Hoses rubbing against frames, other hoses, or moving parts
- Missing or damaged clamps and protective sleeves
- Crusty or cracked outer covers on older hoses
- Fluid puddles under the machine from overnight seepage
The Cardboard Test
Never use your hands to check for leaks. Instead, hold a piece of cardboard 1–2 inches from suspected leak areas. Hydraulic fluid under pressure will leave a visible wet mark on the cardboard without risking injection injury to your fingers.
CRITICAL SAFETY WARNING: Hydraulic fluid injection injuries are life-threatening. Fluid forced through skin at high pressure causes massive tissue damage that isn’t immediately apparent. If you suspect injection, go to the emergency room IMMEDIATELY — even if the wound looks minor. You have hours, not days, before permanent damage occurs.
Detailed 500-Hour Inspection
Every 500 operating hours, perform a thorough hands-on inspection of every hydraulic hose on the machine. This is your chance to catch degradation that daily visual checks miss.
Step-by-Step Process
1. Document Current State
Photograph each hose run before touching anything. This creates a baseline and helps you track degradation over time. FieldFix users can attach these photos directly to service logs for each machine.
2. Check Flexibility
With pressure relieved, gently flex each hose by hand. A healthy hose should be supple and bend smoothly. If a hose feels stiff, crunchy, or resists bending, the internal rubber is hardening — replacement time is approaching.
3. Inspect Fittings
Look for:
- Corrosion or rust on metal fittings
- Cracks in the crimp collar
- Movement between the hose and fitting (it should be immovable)
- Thread damage on connection points
- Weeping fluid at the crimp area
4. Measure Abrasion Depth
Where hoses show surface wear, gauge the depth. If you can see reinforcement wire through the outer cover, that hose needs replacement within the next service interval — do not wait.
5. Check Protective Wear Sleeves
Inspect all spring guards, nylon sleeves, and heat shields. Replace any that are damaged. A $5 sleeve protects a $200 hose assembly.
6. Verify Routing
Compare current hose routing to the OEM routing diagram. Hoses shift over time due to vibration and thermal cycling. A hose that’s moved even an inch might now contact a hot surface or sharp edge.
Common Failure Warning Signs
Experienced operators learn to read the signs that a hose is approaching failure. Here’s what to watch for between formal inspections.
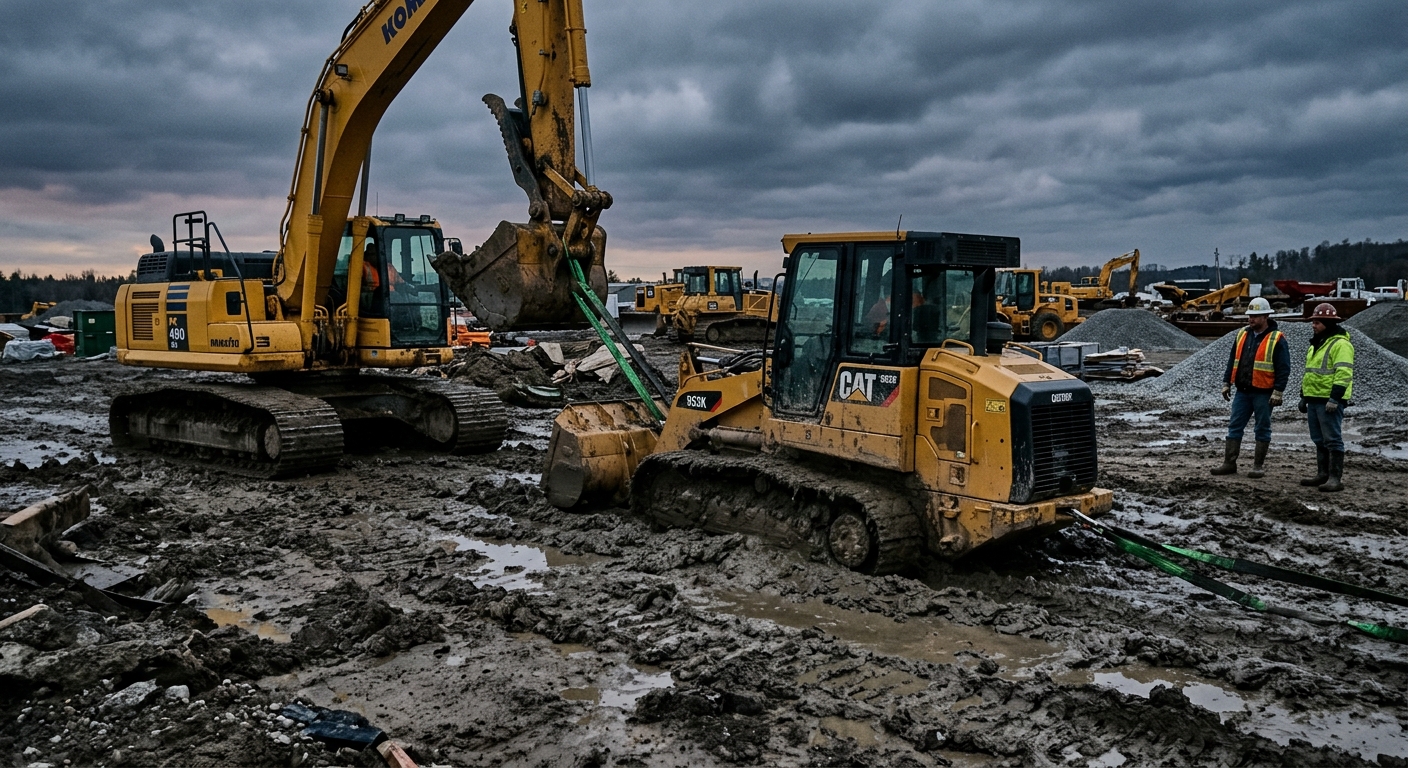
Real-World Example: The $18,000 Hose Failure
A fleet operator in Texas ignored a weeping fitting on an excavator’s boom cylinder hose for three weeks. When the hose blew during a dig, 40 gallons of hydraulic fluid contaminated a drainage ditch adjacent to the jobsite. The repair cost $400. The environmental cleanup and EPA fine totaled $17,600. The machine was down for 8 days while the environmental remediation was completed.
Lesson: A $400 repair ignored becomes an $18,000 disaster.
Signs You Can See
| Warning Sign | Severity | Action Required |
|---|---|---|
| Slight weeping at fitting | Moderate | Schedule repair within 1 week |
| Outer cover cracking | Moderate | Replace at next service interval |
| Exposed reinforcement wire | High | Replace immediately |
| Bulging or blistering | Critical | Stop work, replace now |
| Fitting corrosion | Moderate | Monitor weekly, plan replacement |
| Hose twisting under pressure | High | Re-route and replace |
Signs You Can Feel
- Spongy controls — air in the system from a slow leak
- Slower cycle times — restricted flow through damaged hose
- Jerky movements — hose partially collapsed internally
- Increased operating temperature — internal restriction generating heat
Signs You Can Hear
- Hissing — pressurized leak (DO NOT approach without cardboard)
- Chattering — air in the system from ingestion at a loose fitting
- Squealing — cavitation from restricted hose feeding a pump
When to Replace vs. Repair
Not every hose issue requires immediate full replacement. Here’s how to make the right call.
Replace the Hose When:
- ✅ Wire reinforcement is visible anywhere along the length
- ✅ The hose has a bulge, blister, or soft spot
- ✅ Age exceeds manufacturer’s shelf life recommendation (typically 6–10 years from manufacture date)
- ✅ Internal deterioration is evident (rubber particles in filters)
- ✅ The hose has been run above its rated pressure or temperature
- ✅ Fitting is leaking at the crimp (not the thread connection)
Repair or Re-tighten When:
- ✅ Leak is at a threaded fitting connection (tighten or replace O-ring)
- ✅ Outer cover has minor surface abrasion (add protective sleeve)
- ✅ Clamp or bracket has come loose (re-secure)
- ✅ Hose has shifted but is otherwise undamaged (re-route and clamp)
Never splice hydraulic hoses. Unlike low-pressure return lines, high-pressure hoses cannot be safely repaired with field splices, tape, or clamps. A splice on a 3,000 PSI line is a ticking bomb. Replace the full assembly.
Hose Selection: Getting the Right Spec
Choosing the wrong replacement hose is almost as bad as running a damaged one. Here are the critical specifications you need to match.
The STAMPED Method
Use this mnemonic to spec every replacement hose:
- S — Size: Inside diameter must match the original. Too small restricts flow and generates heat. Too large reduces fluid velocity and system response.
- T — Temperature: Both fluid temperature and ambient temperature. The hose must handle both extremes your application sees.
- A — Application: What fluid is being conveyed? Standard hydraulic oil, bio-based fluid, and water-glycol each require different inner tube materials.
- M — Material: Inner tube, reinforcement, and outer cover materials must all be compatible with your system.
- P — Pressure: Match or exceed the maximum system pressure, including transient spikes. Most OEMs specify a 4:1 safety factor (burst-to-working pressure).
- E — Ends: Fitting type, thread size, seat type, and orientation. Get one wrong and it won’t connect — or worse, it’ll connect poorly and leak.
- D — Delivery: How is the hose routed? Length, bend requirements, and clearance determine whether a standard assembly works or you need custom fabrication.
SAE Hose Standards Quick Reference
| SAE Standard | Reinforcement | Typical Working Pressure | Common Use |
|---|---|---|---|
| 100R1 | 1 wire braid | 1,200–3,000 PSI | General hydraulic lines |
| 100R2 | 2 wire braid | 2,000–5,800 PSI | High-pressure lines |
| 100R12 | 4 spiral wire | 4,000–5,000 PSI | Excavator boom/arm circuits |
| 100R13 | 4/6 spiral wire | 5,000–6,000 PSI | Very high pressure applications |
| 100R15 | 4/6 spiral wire | 6,000+ PSI | Extreme pressure applications |
Proper Routing and Installation
How you install a hose matters as much as which hose you choose. Poor routing cuts hose life by half or more.
Golden Rules of Hose Routing
1. Respect Minimum Bend Radius
The hose should never bend tighter than its specified minimum radius. Use 90° fittings or elbow adapters instead of forcing a tight bend.
2. Allow for Length Changes
Hydraulic hoses change length under pressure — typically 2–4% shorter when pressurized. Route with enough slack that the hose doesn’t pull tight at full pressure, but not so much slack that it contacts other components.
3. Avoid Twisting
Install hoses so the lay line (printed stripe on the cover) stays straight along the routing path. If the lay line spirals, the hose is twisted. Twisting reduces burst pressure by up to 70%.
4. Separate from Heat Sources
Maintain at least 1 inch of clearance from exhaust components. Where routing near heat sources is unavoidable, use heat-resistant sleeves rated for the actual temperature exposure.
5. Protect Against Abrasion
At every point where a hose contacts metal, another hose, or any abrasive surface, install protective sleeves, clamps, or spring guards. This $2–$10 investment prevents the #1 cause of hose failure.
6. Use Proper Clamp Spacing
For horizontal runs, clamp every 24 inches. For vertical runs, clamp every 36 inches. Use cushion clamps — never bare metal clamps against the hose.
Emergency Field Repair Techniques
When a hose blows in the field and the machine needs to move to a trailer, you have limited options. These are temporary measures only — not permanent fixes.
Field repairs are TEMPORARY. Their only purpose is to get the machine onto a trailer or to a shop. Never continue working on a field-repaired hose. Replace the full assembly before returning to operation.
Emergency Kit Contents
Keep these in every machine’s toolbox:
- Assorted hose plugs and caps
- Adjustable wrenches (2 sets)
- Clean rags and absorbent pads
- Hydraulic fluid (1 gallon minimum)
- Thread sealant tape (PTFE)
- Zip ties and hose clamps (various sizes)
- Safety glasses and chemical-resistant gloves
- Cardboard sheets for leak detection
- Container for catching spilled fluid
Temporary Bypass Procedure
For non-critical circuits (like a thumb attachment), you can sometimes bypass the failed hose:
- Relieve all system pressure
- Disconnect both ends of the failed hose
- Cap or plug both port connections
- Check fluid level and top off
- Start the machine — the bypassed function won’t work, but the rest will
Moving the Machine
If the blown hose is on a critical circuit (boom, drive, steering), you may need to:
- Cap the failed ports to prevent further fluid loss
- Top off the hydraulic reservoir
- Operate at low RPM and minimal hydraulic demand
- Move directly to a trailer — no detours, no “just one more” tasks
Cost of Prevention vs. Failure
The math on hose maintenance is brutally straightforward.
Annual Cost Comparison
For a fleet of 5 machines, here’s what proactive hose management looks like vs. reactive replacement:
| Approach | Annual Cost | Downtime Hours |
|---|---|---|
| Proactive (inspect + scheduled replacement) | $3,000–$5,000 | 20–30 hours |
| Reactive (replace when they blow) | $8,000–$15,000 | 80–150 hours |
| Negligent (ignore until catastrophic) | $15,000–$40,000+ | 200+ hours |
The proactive approach costs less AND keeps your machines running. There’s no scenario where ignoring hoses saves money.
Building a Hose Maintenance Program
A structured approach to hose management pays for itself within the first prevented failure.
Step 1: Inventory Every Hose
Document every hydraulic hose on each machine:
- Location and function
- Size, length, and SAE specification
- Date of installation or last replacement
- Condition rating (1–5 scale)
Step 2: Establish Replacement Intervals
Based on your operating environment, set maximum service life limits. General guidelines:
- Standard conditions: Replace every 3–5 years or per manufacturer spec
- High-heat applications: Replace every 2–3 years
- High-abrasion environments: Replace every 1–2 years
- Severe duty (demolition, recycling): Replace annually
Step 3: Stock Critical Spares
Identify the 5–10 hose assemblies most likely to fail on each machine type. Keep pre-made assemblies on the shelf. The cost of stocking $2,000 in spare hoses is nothing compared to a day of downtime waiting for a custom assembly.
Step 4: Track and Trend
Log every hose failure and replacement in your fleet management system. Over time, patterns emerge — maybe a particular hose on a specific machine model fails every 18 months. That’s a scheduled replacement, not an emergency.
FieldFix makes hose tracking simple. Log every replacement as a service entry with photos, tag the specific hose location, and FieldFix tracks replacement intervals automatically. When a hose approaches its replacement window, you’ll know before it blows.
Step 5: Train Your Operators
Operators are your first line of defense. Train them to:
- Include hoses in daily walkaround inspections
- Report any seepage, abrasion, or damage immediately
- Never operate with a known hose issue
- Use the cardboard test, never bare hands
- Know the emergency procedures for a hose blowout
Stop Guessing, Start Tracking
FieldFix helps you log every hose replacement, track maintenance intervals, and catch problems before they strand your equipment on a jobsite. AI-powered photo diagnostics can even help identify potential hose issues from your daily walkaround photos.
Start tracking your fleet’s hydraulic maintenance for free →
Related Articles
May 23, 2026
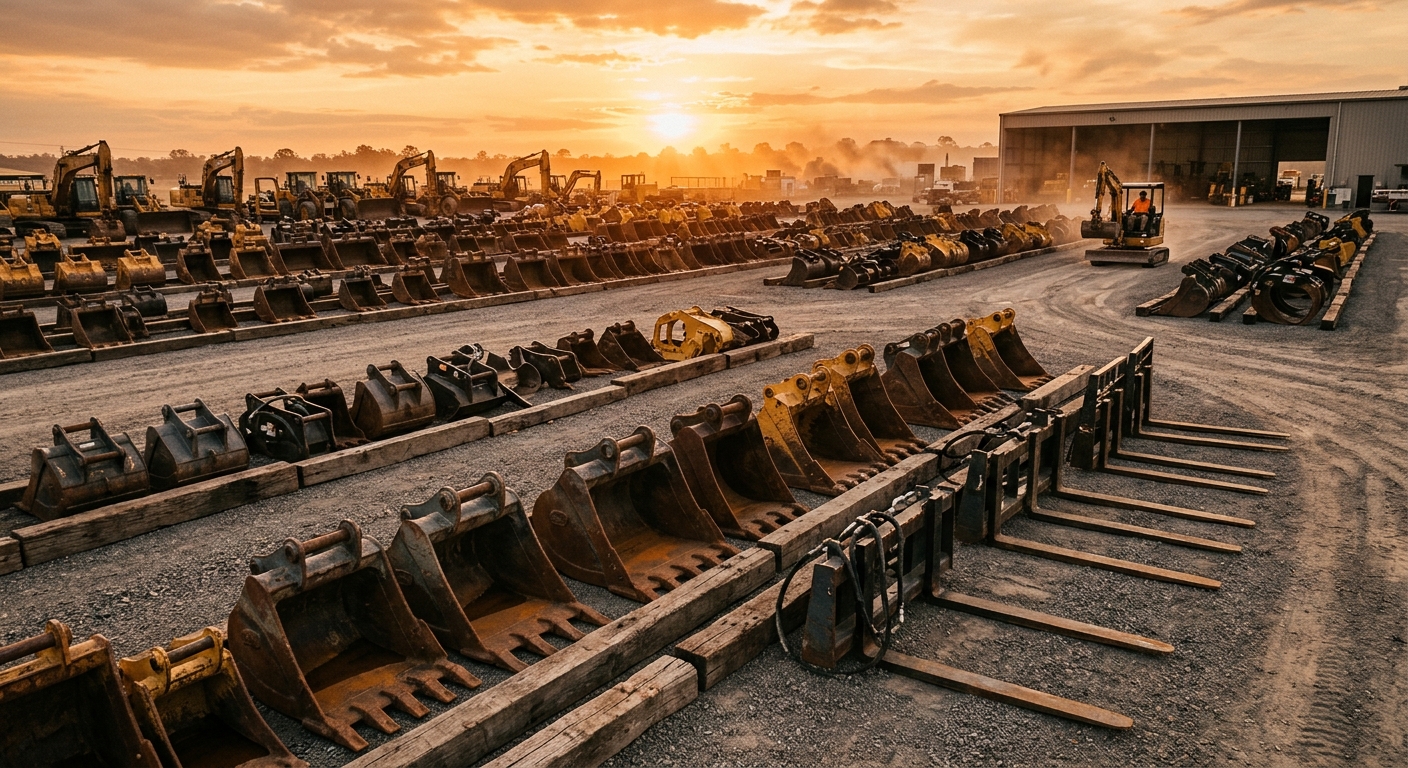
Heavy Equipment Attachment Storage: How to Prevent Damage, Rust, and Lost Productivity
May 22, 2026
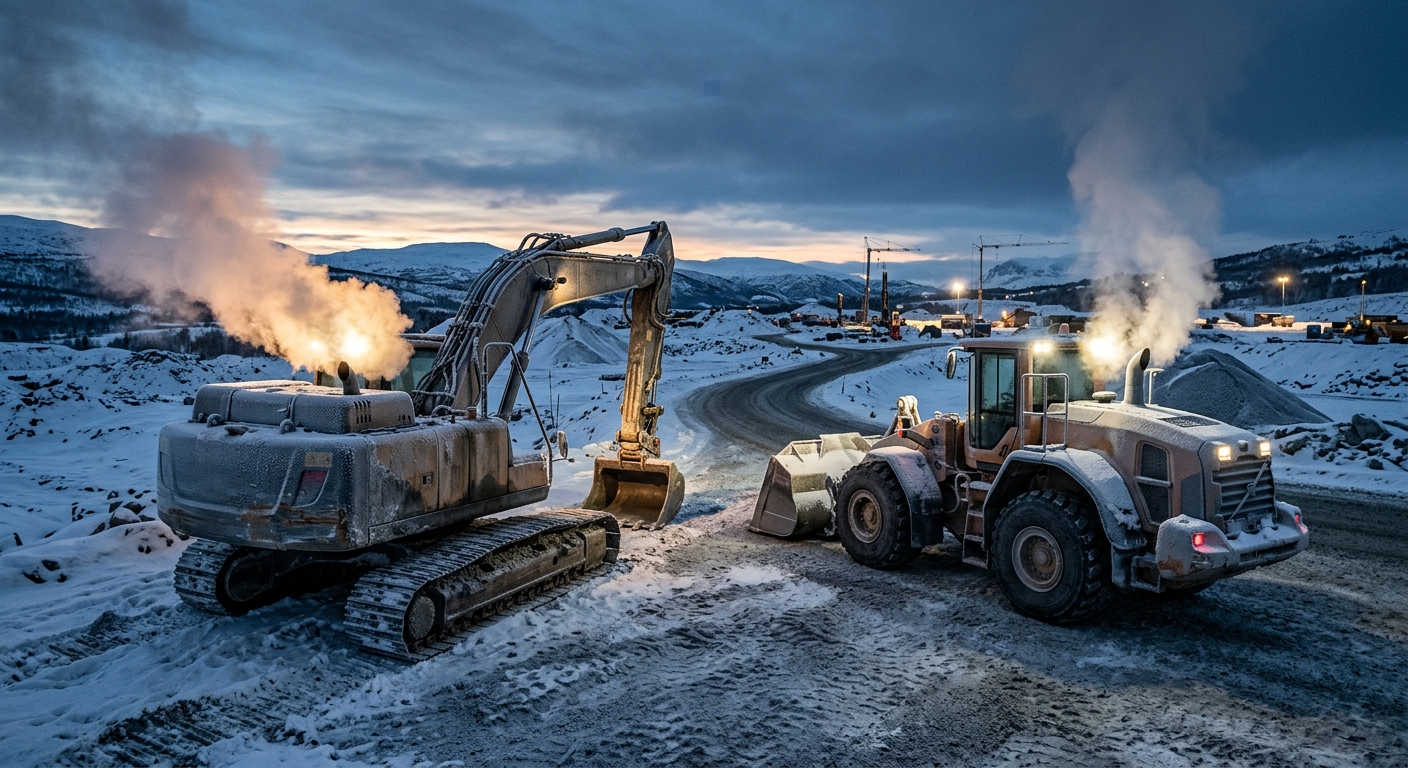
Heavy Equipment Cold Start Procedures Guide: Prevent Winter Engine Wear, Battery Failure, and Hydraulic Damage
May 21, 2026