Heavy Equipment Spring Startup: The Complete Recommissioning Checklist
Step-by-step guide to recommissioning heavy equipment after winter storage. Prevent costly breakdowns with this spring startup checklist for excavators, loaders & more.
Key Takeaways
- Skipping spring recommissioning leads to 3x more breakdowns in the first month of operation
- A proper startup sequence takes 2–4 hours per machine but saves thousands in emergency repairs
- Fluids, batteries, and seals are the three biggest failure points after winter storage
- Following a structured checklist can extend equipment life by 15–20% over machines that are simply fired up and sent to work
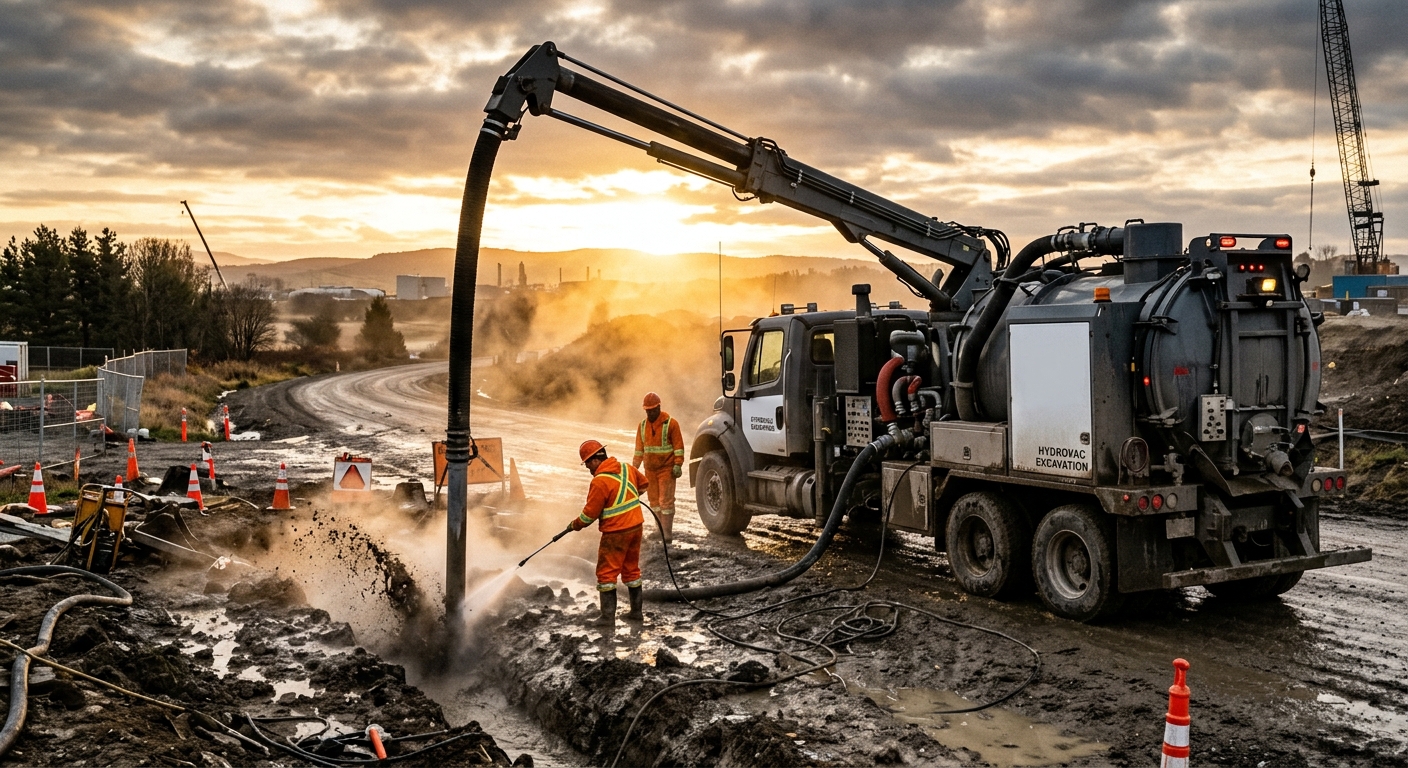
Every spring, the same story plays out on jobsites across the country: operators walk up to equipment that’s been sitting for three to five months, turn the key, and expect everything to work perfectly. Sometimes it does. More often, they’re calling a mechanic by lunchtime.
Winter storage isn’t just parking a machine and walking away — and spring startup isn’t just turning it back on. The machines that run all season without major issues are the ones whose owners spent a few hours on proper recommissioning before the first job.
This guide walks through every step of bringing your heavy equipment back to life after winter, whether you stored it in a heated shop or left it on a gravel pad with a tarp.
Why Spring Startup Matters
Equipment doesn’t just “pause” during winter. Even in climate-controlled storage, several things happen while machines sit idle:
- Seals dry out and shrink — rubber and polymer seals need regular contact with fluids to stay pliable. After months of sitting, they harden and crack.
- Moisture accumulates — temperature fluctuations cause condensation inside fuel tanks, hydraulic reservoirs, and electrical connectors.
- Batteries self-discharge — even disconnected batteries lose 5–15% charge per month, and cold temperatures accelerate degradation.
- Fluids settle and separate — additives in oil, coolant, and hydraulic fluid can settle out, reducing their protective properties.
- Rodents move in — mice and rats love chewing wiring harnesses, air filter housings, and cab insulation.
Skipping the recommissioning process and just cranking the engine is essentially gambling. Sometimes you win. But when you lose, you lose big — blown seals, scored cylinders, or a seized component that costs more to fix than the entire winter storage was worth.
Before You Turn the Key: Visual Inspection
Do NOT start the engine yet. The visual inspection happens before any power is applied. Starting a machine with a blocked intake, disconnected battery, or contaminated fuel can cause immediate and expensive damage.
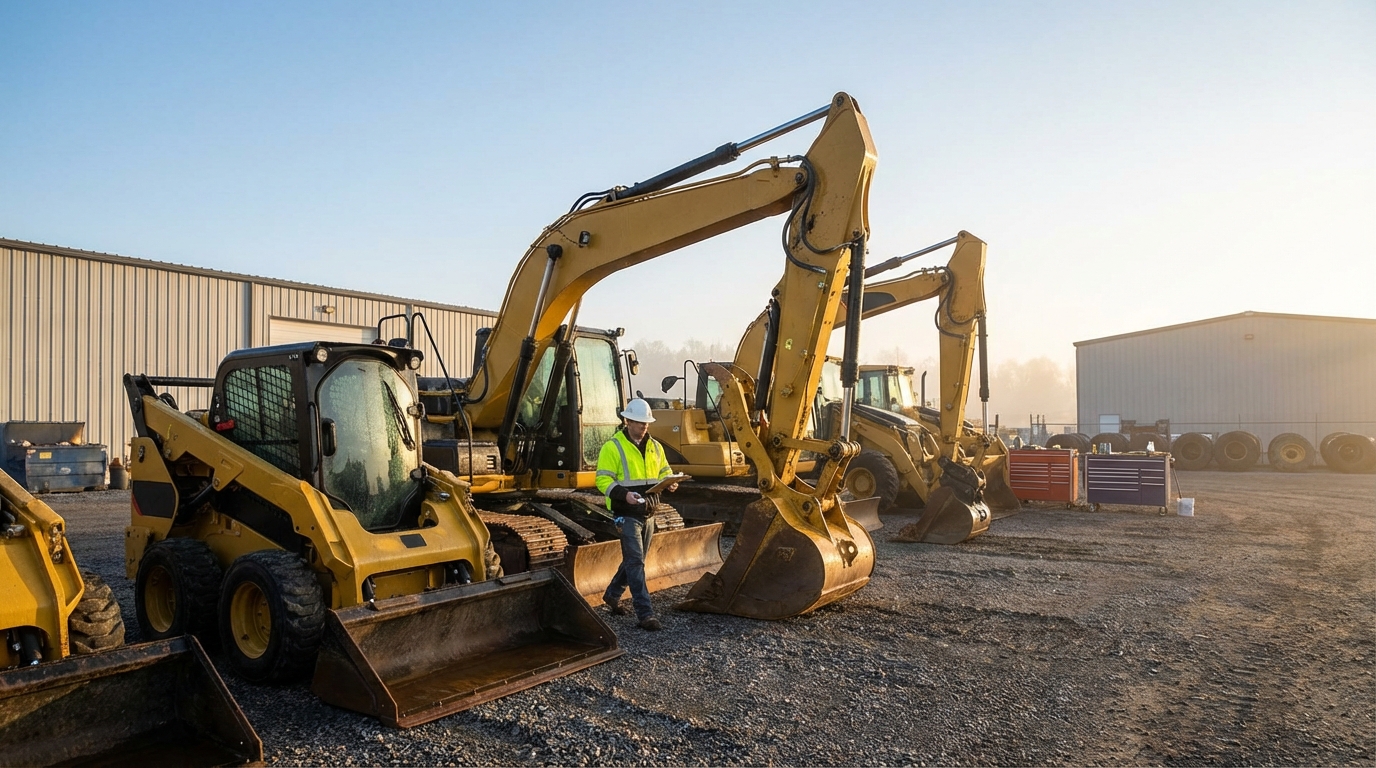
Walk-Around Inspection
Start with a slow walk around each machine, looking for:
Exterior:
- Cracked or damaged hoses visible from outside
- Tire condition (flat spots, cracking, low pressure) or track sag
- Rust or corrosion on exposed metal, pins, and bushings
- Missing or damaged guards, covers, and panels
- Evidence of animal nesting (droppings, chewed materials, nests)
- Fluid stains or puddles underneath the machine
- Condition of any covers, tarps, or storage wrapping
Cab Area:
- Open the cab and check for moisture, mold, or musty smell
- Inspect seat, controls, and pedals for damage
- Check mirrors, glass, and wiper blades
- Look for rodent damage to wiring, upholstery, or insulation
- Verify all gauges and switches are in the off/neutral position
Attachment Points:
- Inspect quick-connect couplers for corrosion
- Check bucket teeth, cutting edges, and wear parts
- Verify all pins and retainers are present and secure
- Look for cracks in weld joints on buckets and attachments
Pro Tip: Take photos during your walk-around. If something fails later in the season, having a documented baseline from spring startup helps determine whether the issue was pre-existing or developed during operation.
Fluid Systems: The Full Audit
Fluids are the lifeblood of heavy equipment, and they’re the most common source of problems after winter storage. Every fluid system needs attention.
Engine Oil
- Check the level — oil may have drained down past the full mark during storage
- Check the condition — if it looks milky or has visible moisture, change it before starting
- Check the filter — if you didn’t change oil before storage (you should have), change both now
- Sniff test — fuel-diluted oil has a distinct gasoline or diesel smell and needs immediate replacement
If the oil was changed before storage and the machine was stored indoors, you’re likely fine. If stored outdoors or the oil is more than 6 months old, change it.
Coolant
- Check the level in both the radiator and overflow tank
- Test concentration with a refractometer or test strips — freezing and thawing can alter the mix ratio
- Inspect for contamination — rust particles, oil sheen, or gel-like deposits indicate problems
- Check hoses — squeeze upper and lower radiator hoses. They should be firm but pliable, not rock-hard or spongy
Never open a pressurized radiator cap. Even on equipment that’s been sitting all winter, residual pressure can exist. Always verify the system is cool and depressurized before opening.
Fuel System
This is where winter storage causes the most insidious problems:
- Drain water from the fuel/water separator — condensation is almost guaranteed
- Check for algae or microbial growth in diesel tanks — look for dark sludge or slime at the bottom
- Verify fuel quality — diesel stored more than 6 months without stabilizer may have degraded
- Replace fuel filters if the machine sat with a partial tank (more air = more condensation)
- Check fuel lines for cracks, especially rubber sections near fittings
If you added fuel stabilizer before storage and kept the tank full, your fuel is probably fine. If the tank was left half-empty without stabilizer, consider draining and replacing the fuel entirely.
DEF (Diesel Exhaust Fluid)
- DEF can crystallize or degrade after extended storage
- Check the DEF tank for crystals or discoloration
- If the DEF is more than 12 months old, replace it
- Inspect DEF lines and the injector nozzle for crystalline buildup
Electrical System Checks
Battery Assessment
Batteries take the hardest hit during winter storage:
- Reconnect batteries if they were disconnected for storage
- Clean terminals — remove any corrosion with a wire brush and apply dielectric grease
- Test voltage — a fully charged 12V battery should read 12.6V or higher. Below 12.2V indicates significant discharge
- Load test — voltage alone doesn’t tell the whole story. A load test reveals whether the battery can deliver adequate cranking amps
- Check electrolyte levels on non-sealed batteries and top off with distilled water if needed
- Inspect cables for corrosion, fraying, or rodent damage
Battery Math: A battery that sat at 50% charge through winter has likely suffered sulfation damage and may not hold a charge reliably. If your battery reads below 12.0V after sitting, replace it rather than trying to nurse it through the season. A $200 battery is cheaper than a $2,000 tow when it dies on a remote jobsite.
Electrical Connections
- Inspect wiring harnesses throughout the machine for rodent damage
- Check all lights — headlights, tail lights, strobes, work lights
- Test the horn and backup alarm
- Verify gauge operation — turn the key to accessory position and confirm gauges sweep and settle correctly
- Check fuses — pull and inspect fuses in the main panel and any auxiliary panels
Hydraulic System Recommissioning
Hydraulic systems are particularly sensitive to contamination and air intrusion after sitting idle:
- Check hydraulic fluid level — top off if low, but investigate why it’s low first
- Inspect all hydraulic hoses for cracks, bulges, abrasion, and fitting leaks
- Check cylinder rods — look for pitting, scoring, or rust on exposed chrome. Light surface rust can be polished off with fine emery cloth, but deep pitting means the cylinder needs service
- Inspect hydraulic couplers — clean and lubricate quick-connect fittings
- Check the hydraulic tank breather — replace if clogged or contaminated
First Hydraulic Cycle
When you first operate the hydraulics after winter:
- Run the engine at low idle
- Slowly cycle each function through its full range of motion — boom, stick, bucket, swing
- Listen for unusual noises — cavitation (screeching), knocking, or grinding
- Watch for jerky or uneven movement that could indicate air in the system
- Check all connection points for leaks while the system is pressurized
- Repeat the cycle 3–5 times to fully circulate fluid and purge any air
Undercarriage and Ground Engagement
Tracked Machines
- Check track tension — tracks typically loosen during storage. Adjust per manufacturer specs
- Inspect track pads/shoes for cracks, missing bolts, or excessive wear
- Check rollers, idlers, and sprockets for damage, wear, and free rotation
- Lubricate track adjusters and all grease points in the undercarriage
- Look for debris packed in the undercarriage — frozen mud, rocks, or vegetation
Wheeled Machines
- Check tire pressure — tires lose 1–2 PSI per month during storage. Flat spots may have developed on tires that sat under-inflated
- Inspect sidewalls and tread for weather cracking (ozone damage)
- Check lug nuts for proper torque
- Inspect axle seals for leaks
- Verify brake function before moving the machine
Engine and Powertrain Startup
The startup sequence matters. Don’t just crank the key and rev it up. A controlled startup protects internal components that haven’t seen lubrication in months.
Pre-Start
- Verify all fluid levels are correct
- Confirm the battery is charged and connected
- Remove any exhaust or intake covers used during storage
- Check the air filter — replace if it shows signs of moisture or contamination
- Make sure the machine is in neutral with the parking brake set
- Open the fuel shutoff valve if one was closed for storage
Starting Procedure
- Turn to accessory/run position — wait for glow plugs to cycle (diesel) and let fuel pressure build
- Crank the engine — if it doesn’t start within 15 seconds, stop and wait 30 seconds before trying again
- Once running, keep it at LOW IDLE — do not rev the engine. Let oil pressure build and reach all bearings
- Monitor gauges — oil pressure should come up within 10–15 seconds. If it doesn’t, shut down immediately
- Let the engine warm up for 5–10 minutes at low idle before increasing RPM
- Watch the exhaust — white smoke is normal initially (moisture burning off). Blue smoke indicates oil burning. Black smoke means fuel issues.
After Warm-Up
- Gradually increase engine speed to operating RPM
- Listen for unusual knocks, rattles, or squeals
- Check for exhaust leaks (listen and look for soot marks)
- Verify all gauges read within normal ranges
- Check for fluid leaks at every connection point now that the engine is warm and pressurized
Safety Systems and Cab Check
Before sending any machine to a jobsite:
- ROPS/FOPS structure — inspect for cracks, damage, or loose bolts
- Seatbelt — check for fraying, proper retraction, and secure mounting
- Fire extinguisher — verify it’s charged and accessible
- Emergency shutdown — test the emergency stop button
- Backup camera (if equipped) — clean lens and verify display
- Mirrors — clean, adjust, and verify secure mounting
- HVAC system — test heat and A/C. Rodents love nesting in blower housings
- Windshield wipers and washer fluid — refill and test
The First Hour of Operation
The Golden Rule: Easy Does It
The first hour after recommissioning is a break-in period. Run the machine at 50–75% capacity for the first hour of actual work. This allows:
- Seals to re-seat and swell to proper size
- Fluids to fully circulate and reach operating temperature
- Any air pockets in hydraulic systems to work themselves out
- You to identify issues before they become emergencies
After one hour: Shut down, do a complete walk-around, check all fluid levels, and look for any new leaks. Top off fluids as needed. If everything looks good, the machine is cleared for full operation.
What to Monitor During Break-In
- Temperature gauges — watch for overheating, especially coolant and hydraulic oil
- Unusual smells — burning rubber, hot oil, or electrical smells need immediate investigation
- Performance — sluggish response, delayed hydraulics, or lack of power could indicate issues
- Leaks — check under the machine after the first 30 minutes of operation
- Noise — any new squeaks, grinding, or knocking that wasn’t there during initial startup
Common Spring Startup Mistakes
❌ What NOT to Do
- Cold-crank and immediately run at full throttle — this is the #1 cause of early-season bearing and seal failures
- Skip the fluid checks — “It was fine when I parked it” doesn’t mean it’s fine now
- Ignore the first leak — small drips become big problems on the jobsite
- Forget to check the cab for animal damage — a chewed wiring harness can cause intermittent electrical gremlins all season
- Use old fuel without testing — contaminated fuel damages injectors, and injector replacement is a four-figure repair
- Rush the process — spending 2 hours now saves 20 hours of downtime later
✅ What TO Do
- Follow a written checklist — don’t rely on memory, especially across multiple machines
- Document everything — photos, fluid levels, hour meter readings
- Replace consumables proactively — if filters, belts, or hoses are borderline, replace them now while you have time
- Update your maintenance log — record the recommissioning as a service event with date and hour meter reading
- Schedule a follow-up check — put a reminder at 50 operating hours to re-check everything
Recommissioning Checklist Summary
Use this as a quick reference for each machine:
Pre-Start Inspection:
- ☐ Complete walk-around — check for damage, leaks, animal activity
- ☐ Inspect cab interior — wiring, controls, seats, glass
- ☐ Check all fluid levels — oil, coolant, hydraulic, fuel, DEF
- ☐ Drain fuel/water separator
- ☐ Inspect and clean battery terminals
- ☐ Test battery voltage (12.6V+ for 12V systems)
- ☐ Check air filter condition
- ☐ Inspect all belts and hoses
- ☐ Verify tire pressure or track tension
- ☐ Lubricate all grease points
Startup:
- ☐ Start at low idle — do not rev
- ☐ Verify oil pressure within 15 seconds
- ☐ Warm up 5–10 minutes at low idle
- ☐ Cycle all hydraulic functions slowly
- ☐ Test all lights, horn, backup alarm
- ☐ Check brakes and steering
- ☐ Verify all gauges read normal
First Hour:
- ☐ Operate at 50–75% capacity
- ☐ Monitor temperatures continuously
- ☐ Shut down after 1 hour for full inspection
- ☐ Check all fluid levels and top off
- ☐ Inspect for new leaks
- ☐ Record hour meter reading in maintenance log
Track Your Spring Startup with FieldFix
Don’t trust paper checklists that get lost in the cab. FieldFix lets you log your recommissioning as a service event, attach photos of any issues you find, and set automatic reminders for your 50-hour follow-up check.
Every startup detail is tracked against each machine’s history — so next spring, you’ll know exactly what each unit needed and can plan accordingly.