Heavy Equipment Driveline and U-Joint Maintenance: Stop Vibration Before It Becomes Downtime
Learn how to inspect, grease, and troubleshoot heavy equipment drivelines and U-joints before vibration, heat, and wear turn into costly failures.
Key Takeaways
- Small driveline issues get expensive fast because vibration damages seals, bearings, mounts, and connected components.
- Loose U-joints, dry slip splines, and worn carrier bearings usually show warning signs before total failure.
- Greasing on schedule is not enough if the shaft is already out of phase, dented, or running at bad angles.
- A five-minute inspection during service can prevent a machine-stranding failure on the jobsite.
- Good maintenance records matter because vibration complaints often come and go before crews take them seriously.
Driveline maintenance is not glamorous, which is exactly why it gets neglected.
Most crews pay attention when an engine runs rough, a hydraulic cylinder leaks, or an undercarriage starts looking chewed up. But driveline components tend to fail in a quieter, meaner way. A machine develops a faint vibration at travel speed. Maybe there is a clunk when changing direction. Maybe grease starts purging from one cap differently than the others. Nobody stops the day over it, because the machine still moves and the job still needs done.
That is how a cheap maintenance item turns into a shaft failure, a torn transmission output seal, a broken mount, or a machine stranded in the dumbest possible place.
If your fleet includes wheel loaders, articulated dump trucks, telehandlers, compact wheel machines, certain dozers, service trucks, water trucks, or any asset with exposed driveline shafts and universal joints, this guide matters. The goal is simple: catch looseness, poor lubrication, phasing issues, and angle problems while the repair is still annoying instead of catastrophic.
Why Driveline Problems Get Missed
Driveline issues live in an uncomfortable middle ground. They are often not dramatic enough to trigger an immediate shutdown, but they are absolutely serious enough to wreck other components if you let them run.
That is why shops miss them:
- Symptoms can be intermittent. A shaft may vibrate only under load, only at one travel speed, or only when the machine is articulated a certain way.
- The noise gets blamed on something else. Tires, wheel ends, engine mounts, transmission behavior, and driveline wear can all sound similar at first.
- Grease creates false confidence. Crews assume that if a U-joint took grease, it must be healthy. That is not how this works.
- Inspections happen from too far away. A quick glance under a dirty machine will not show cap movement, sling marks, missing weights, or spline wear.
The trap: Driveline failures rarely stay isolated. A bad U-joint can damage yokes, output shafts, carrier bearings, seals, guards, and even nearby hoses or wiring if the shaft lets go at speed.
The expensive part is not just the broken joint. It is the chain reaction.
What the Driveline Actually Does
On machines with mechanical power transfer, the driveline connects rotating power from one major component to another. Depending on the machine, that may mean:
- transmission to axle
- transfer case to axle
- PTO to pump
- engine or transmission output to an auxiliary system
The core parts usually include a shaft tube, yokes, U-joints, slip spline or slip yoke, and sometimes a carrier bearing on longer shafts.
Each part has a job:
- U-joints allow the shaft to transmit power while operating at changing angles.
- Slip splines allow the shaft length to change as the machine moves, articulates, or the suspension travels.
- Carrier bearings support long shaft runs and keep alignment under control.
- Yokes and flanges connect the shaft to the rotating assemblies on either end.
What kills these components is not magic. It is lubrication failure, contamination, impact, misalignment, overspeed, or operating angles that stay outside what the joint can handle.
Common Failure Points
1. Dry or failing U-joints
This is the classic problem. When grease dries out or contamination gets in, the needle bearings inside the caps start to wear. That creates heat, then looseness, then vibration, then the kind of failure that makes everybody suddenly care about the driveline.
Watch for:
- rust bleed at the bearing caps
- dry, blocked, or missing grease fittings
- one cap taking grease differently than the others
- shiny dust around a cap
- clunk when shifting from forward to reverse
2. Worn slip splines
Slip splines let the shaft change length as the machine moves. If they run dry or get packed with contamination, they start binding or wearing loose. That can show up as jerkiness, clunking, or a vibration that seems to move around.
3. Carrier bearing wear
Longer shaft systems often rely on a center support bearing. When that bearing or its rubber support degrades, the shaft loses stability. Operators may describe it as a rumble, a drone, or a shake that gets worse with travel speed.
4. Out-of-phase shafts
If a shaft is assembled out of phase, the U-joints do not cancel angular velocity correctly. The result is vibration even if the joints are new. This one is especially common after rushed field repairs.
5. Damaged tubing, missing weights, or bad angles
A dented shaft tube, lost balance weight, or altered ride height can throw everything off. So can worn mounts or articulation components that change the shaft angle beyond what it was designed for.
Early warning signs
- Light vibration at a repeatable speed
- Grease purging unevenly from one cap
- New sling marks under the machine
- Polished metal where the shaft should not be touching
- Heat at one joint or support bearing after operation
Signs you waited too long
- Harsh clunk when taking off or changing direction
- Visible cap movement or missing snap rings
- Torn seals at transmission or axle connection points
- Heavy vibration under load
- Cracked guards, damaged nearby hoses, or thrown shaft hardware
Inspection Checklist That Catches Problems Early
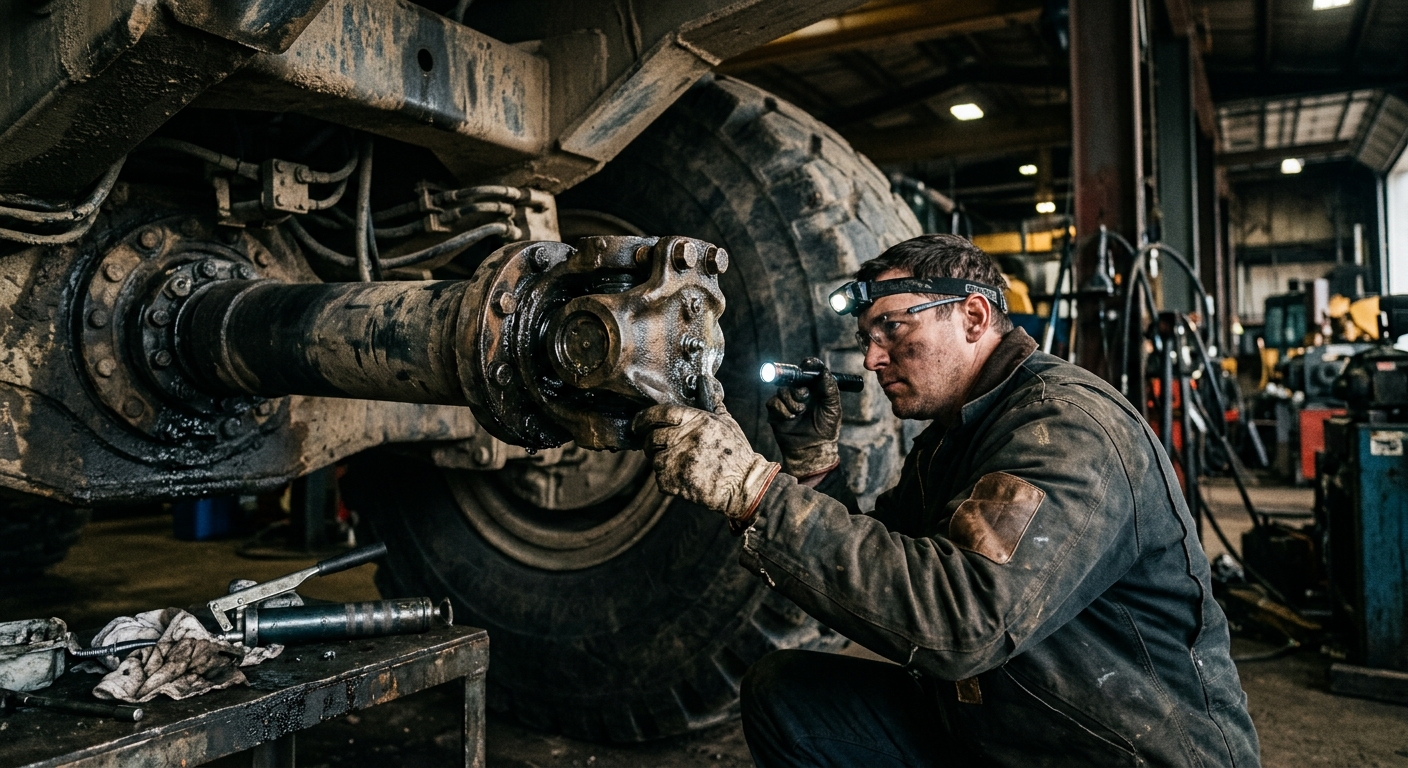
The best driveline inspections are hands-on. Not reckless, not done on a hot moving machine, and not while something is unsupported. But hands-on.
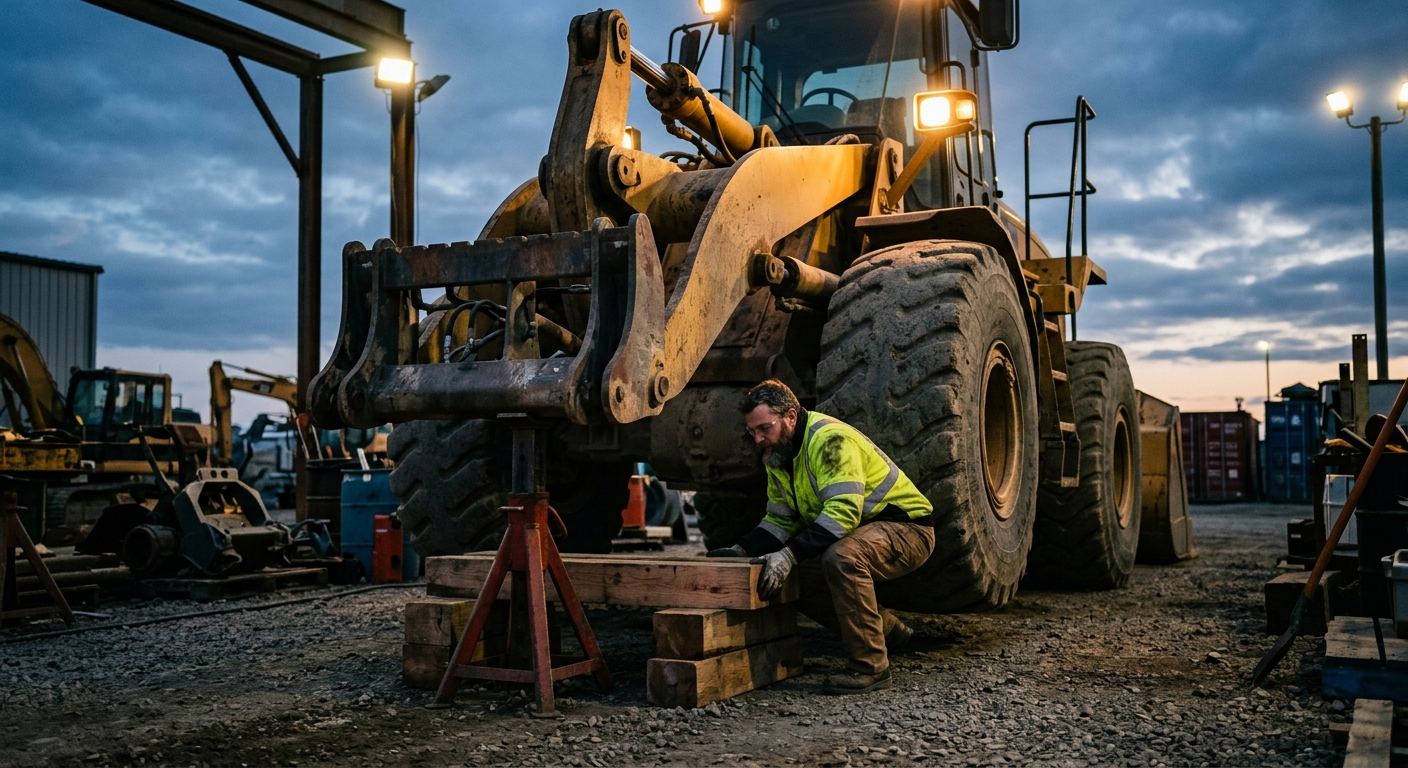
Lock out the machine properly, support it if needed, and inspect with intent.
Driveline inspection checklist
- Check shaft guards and surrounding area for rub marks, thrown grease, or impact damage.
- Grab each shaft near the U-joint and check for play, looseness, or a clicking feel.
- Inspect bearing caps, snap rings, and seals for rust, displacement, or grease leakage.
- Look at the shaft tube for dents, missing weights, cracks, or fresh shiny spots.
- Slide and rotate the slip section if accessible to feel for binding or excess free play.
- Inspect carrier bearings for torn rubber, sagging, noise, or heat discoloration.
- Check flange bolts and mounting hardware for looseness or witness marks.
- Confirm the shaft is in phase if it has been removed or repaired recently.
Pro tip: Use a paint marker after inspection to note checked fasteners or suspect joints. It makes rechecks faster and keeps two technicians from making different assumptions on different days.
If the machine came in with a vibration complaint, inspect immediately after operation when practical. Heat patterns and fresh grease sling tell the truth better than a cold machine that has sat overnight.
Greasing and Service Intervals
Grease matters, but random greasing is not a maintenance strategy.
You need the right lubricant, the right interval, and the discipline to notice when a joint is not accepting grease normally. Over-greasing can blow seals on some components. Under-greasing starves bearings. Greasing without rotating the shaft into a useful position can leave dry areas untouched.
As a rule, follow the machine manufacturer first. But operational reality matters too. Mud, water, dust, high articulation, and repeated shock loads usually justify more attention than the manual’s neat little schedule assumes.
Things crews should watch during greasing:
- Does fresh grease purge cleanly from all caps where expected?
- Does one cap refuse grease?
- Is the old grease metallic, watery, or burnt-looking?
- Is the fitting damaged, plugged, or missing?
- Does the shaft move smoothly afterward?
Important: A U-joint that finally takes grease after being dry for too long is not automatically saved. If it already developed looseness, heat damage, or rough movement, replacement is the smarter play.
How to Diagnose Vibration Without Guessing
Vibration diagnosis goes off the rails when people start replacing parts based on vibes in the worst sense of the word.
Start with pattern recognition:
- Speed-related vibration often points toward rotating components like shafts, tires, wheel ends, or balance issues.
- Load-related vibration may show up only when pushing, hauling, climbing, or engaging a driven system.
- Direction-change clunk often points toward looseness, lash, joint wear, or spline wear.
- Angle-sensitive vibration can suggest articulation-related driveline geometry issues.
The question is not just “does it vibrate?” The question is “when, where, and under what conditions?”
Case study: The fake tire problem
A fleet started chasing a travel vibration on a wheel machine and blamed the tires first. The tires were rotated, then one wheel end was inspected, and the complaint kept returning. The real issue was a center support bearing starting to sag, which changed shaft alignment enough to create a repeatable vibration at road speed. Catching it late also meant replacing a worn seal at the connected output.
Useful checks include:
- infrared temp comparison at joints and bearings after operation
- visual runout concerns on damaged shafts
- checking recent repair history for shaft removal or flange work
- confirming mount condition and driveline angles
- listening for changes between coast, pull, and decel
Do not ignore recurring vibration just because it comes and goes. Intermittent driveline complaints are exactly the ones that get blown off until the machine fails hard enough to make the diagnosis painfully obvious.
Repair or Replace: Making the Right Call
Not every driveline issue deserves a full shaft replacement, but false economy is common here.
If a joint is dry but still smooth, tight, and otherwise healthy, service may be enough. If there is visible looseness, binding, heat damage, cap movement, or collateral wear, replacement becomes the adult decision.
Think bigger than the part price:
- What happens if this fails in the field?
- Will the failure damage more expensive connected components?
- Is the shaft balanced and phased correctly after repair?
- Is there enough wear elsewhere that replacing one joint just postpones another failure?
When repair may make sense
- The issue is isolated and caught early
- Connected yokes and splines are still healthy
- The shaft tube is straight and undamaged
- Parts quality and installation quality are both solid
When replacement is usually smarter
- Multiple joints or splines show wear
- The shaft has dents, missing weights, or repeated failures
- The support bearing and seals are already suffering
- Downtime risk on that machine is too expensive to gamble with
Cheap driveline parts can also be a trap. If the machine matters, bargain-bin components that fail early are not savings. They are just delayed invoices.
Operator Habits That Kill Drivelines
Maintenance matters, but operator behavior absolutely changes driveline life.
The usual offenders:
- abrupt direction changes under load
- high-speed travel over rough ground
- repeated shock loading
- ignoring early vibration complaints
- running damaged guards until debris reaches rotating parts
Operators do not need a mechanical engineering lecture. They need a short explanation: clunks and vibration are not normal, and reporting them early can prevent a breakdown that ruins everybody’s day.
Tracking Driveline Issues with FieldFix
Driveline problems are a perfect example of why maintenance history needs one home.
One technician notices heat at a carrier bearing. Another hears a clunk a week later. An operator mentions a travel vibration that “went away.” If those notes live in separate text messages, paper sheets, or someone’s memory, the pattern disappears.
FieldFix helps shops log inspections, attach photos of suspect joints or guards, track repeat complaints, and connect those notes to machine hours and service history. That matters because driveline failures are usually trendable if the information survives long enough to be useful.
FieldFix gives your team a cleaner way to track inspections, service notes, vibration complaints, and repeat repairs so small driveline issues stop turning into big downtime events.
Driveline maintenance is one of those boring disciplines that quietly protects profit. The crews who respect it spend less time chasing mystery vibration, less money on collateral damage, and a lot fewer afternoons waiting on a tow.