Heavy Equipment Infrared Thermography Maintenance Guide: Find Heat Before It Becomes Downtime
Learn how to use infrared thermography on heavy equipment to catch hot bearings, brake drag, electrical faults, and cooling issues before failure.
Key Takeaways
- Infrared thermography helps crews spot abnormal heat patterns before a bearing seizes, a brake drags, or an electrical connection burns up.
- You do not need a fancy inspection program to start. Even a basic IR gun plus consistent comparison habits can catch expensive problems early.
- The biggest value comes from trending temperatures over time, not reacting to one random hot reading with no context.
- Thermal checks work best after the machine reaches normal operating conditions and when readings are compared side to side, circuit to circuit, and machine to machine.
- FieldFix makes thermal inspections more useful by storing photos, notes, repeat readings, and repair history in one place instead of somebody’s memory.
Most breakdowns do not appear out of nowhere. They warm up first.
A dragging brake makes heat before it makes smoke. A failing bearing runs hotter before it explodes. A loose battery cable or corroded connection starts resisting current before it leaves a machine dead on site. The problem is not that fleets lack warning signs. The problem is that those warning signs are often invisible unless somebody is looking for heat on purpose.
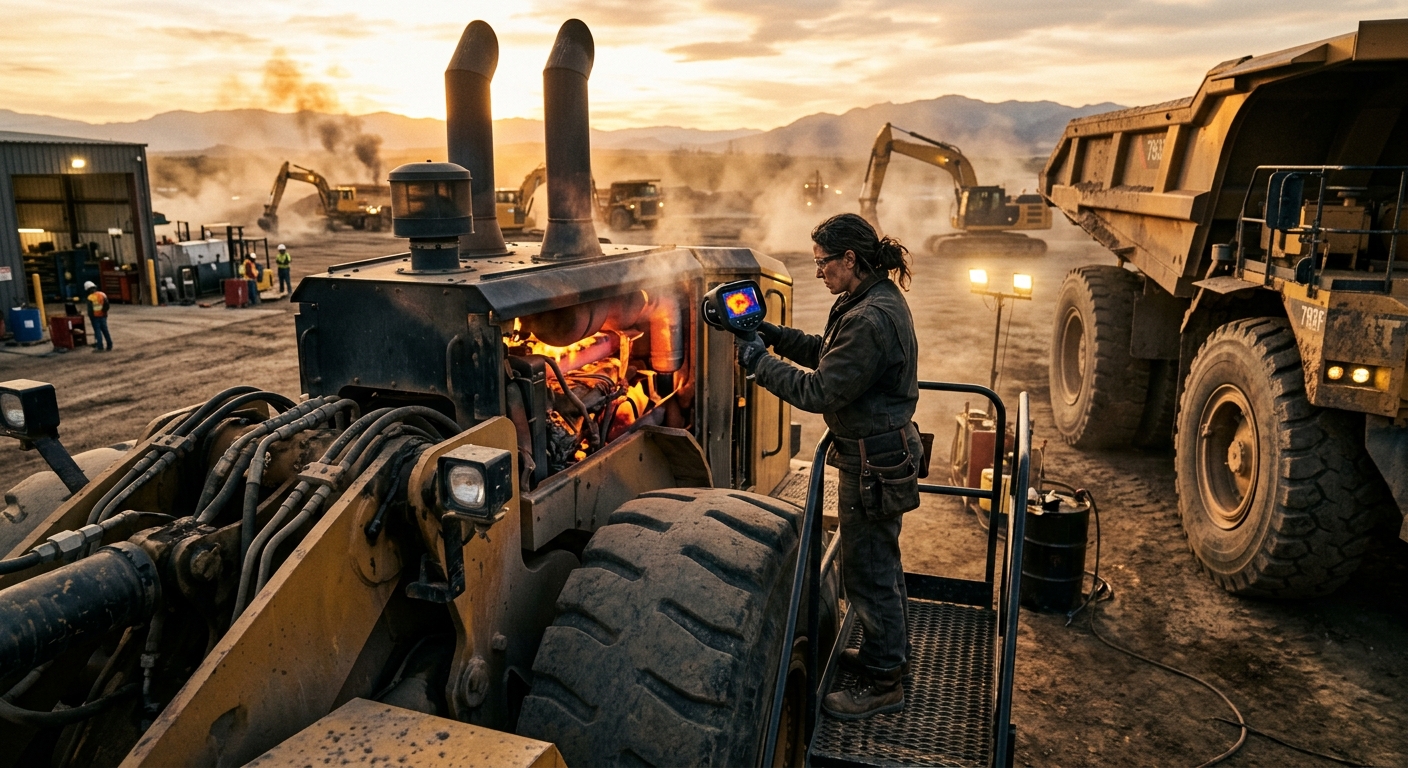
That is where infrared thermography earns its keep. Whether you use a handheld IR thermometer or a real thermal camera, temperature checks help you find abnormalities fast, compare components objectively, and catch small failures before they become four-hour service calls or missed production.
Why Thermal Inspections Matter
Heavy equipment lives in a world full of vibration, friction, current draw, pressure, and contamination. All of those forces create heat. When a component begins failing, it usually changes how heat moves through the system.
That matters because heat is one of the earliest and most measurable clues that something is wrong.
Thermal inspections are especially valuable because they are:
- fast enough to use in the field
- non-contact and relatively safe when done correctly
- easy to repeat on a schedule
- useful across mechanical, hydraulic, cooling, and electrical systems
What Infrared Thermography Actually Tells You
Infrared tools read surface temperature, not internal condition directly. That sounds obvious, but people mess this up constantly.
If one final drive housing is running 35 degrees hotter than the one on the opposite side after the same workload, that difference matters. If one battery cable lug is hotter than the cable feeding it, that matters. If one wheel end on a trailer or wheel loader is hotter than the others after a road move, that matters.
Thermal inspections are about pattern recognition:
- Hotter than similar components can indicate friction, resistance, restriction, drag, or overload
- Cooler than expected can indicate lack of flow, poor combustion contribution, a dead circuit, or a component not working at all
- Sudden temperature change over time can reveal a developing issue before operators notice performance loss
The trick is comparison. One temperature reading by itself is often useless. A reading only becomes actionable when you compare it to:
- the same component on the other side of the machine
- the same component on similar units
- the same machine after a similar workload last week
- the component’s normal temperature range under known conditions
Where to Use It on Heavy Equipment First
If you are new to thermal checks, start where heat reveals common expensive failures.
1. Wheel ends, hubs, and bearings
This is one of the easiest wins. After transport or normal operation, compare left to right and axle to axle. A hotter hub can point to bearing preload issues, lubrication breakdown, seal drag, or brake problems.
2. Brake components
Dragging brakes create money-burning heat in a hurry. Thermal checks help identify a sticking caliper, weak return spring, or adjustment problem before somebody notices smell, smoke, or reduced travel speed.
3. Electrical connections and battery cables
Loose, corroded, or undersized connections create resistance. Resistance creates heat. Scan battery terminals, disconnect switches, alternator connections, starter leads, fuse blocks, and grounding points after startup and charging activity.
4. Cooling system flow points
Compare radiator tanks, hoses, thermostat housing areas, charge-air cooler zones, and cooler pack behavior. You are not just looking for “hot.” You are looking for uneven or abnormal distribution that suggests restriction, poor airflow, or circulation issues.
5. Hydraulic system components
Pumps, motors, case drains, cylinders, and valve sections can all show trouble through temperature differences. One circuit running much hotter than the rest may indicate internal bypassing, restriction, contamination, or a function being held against relief too often.
6. Driveline and rotating assemblies
U-joints, carrier bearings, final drives, swing systems, and gearbox housings all benefit from periodic thermal comparison. Heat is often the first clue that lubrication, alignment, or load distribution is going sideways.
Best places to start
- Wheel ends after road travel
- Final drives after normal production
- Battery cables during charging
- Main disconnects and fuse panels
- Brake assemblies after machine movement
- Hydraulic pumps and return circuits after work
Places people misread
- Dirty surfaces that radiate unevenly
- Components checked before they are truly under load
- Shiny bare metal that throws off readings
- One-off readings with no baseline
- Heat-soaked engine bays where everything looks hot
- Components exposed to direct sun on only one side
How to Perform a Useful Thermal Inspection
The difference between useful thermography and fake science is consistency.
Here is the simple process that actually works:
Step 1: Inspect after normal operation
Do not scan a cold parked machine and expect insight. Run the machine long enough to reach stable operating conditions. That might mean a haul cycle, road travel, grading pass, trenching run, or normal work interval.
Step 2: Follow the same route every time
Walk the machine in the same order so you do not miss things:
- wheel ends or undercarriage drive components
- brakes and driveline
- hydraulic pump and valve areas
- cooling system
- charging and electrical connections
Step 3: Compare like with like
Side to side comparisons are gold. Front to rear on similar axles is useful too. If one side is materially different, document it.
Step 4: Record the context
Temperature without context is weak. Log:
- ambient temperature
- machine hours
- workload type
- location of reading
- exact temperature
- whether the reading was rising, stable, or abnormal versus baseline
Step 5: Follow up with physical inspection
If something reads hot, do not just write down the number and move on. Check for grease loss, dragging brake hardware, contamination, looseness, poor airflow, or electrical resistance.
What Hot and Cold Patterns Usually Mean
Temperature patterns tell stories if you stop treating them like random trivia.
Hotter than matching components
Usually means friction, resistance, restriction, drag, contamination, or overload. Common causes include:
- bearing wear or low lubrication
- dragging brakes
- poor electrical contact
- restricted cooler airflow
- hydraulic relief bypass or circuit inefficiency
Cooler than expected
Sometimes cool is bad too. It can suggest:
- no flow through a circuit
- dead electrical component
- thermostat stuck open
- cylinder or exhaust temperature imbalance
- one function not carrying load like the others
Heat concentrated at one small point
This often points to resistance or friction at a connection. Think one cable lug, one fuse holder, one clamp point, or one bearing position.
Heat spread across a whole area
That usually suggests a broader system issue like restricted airflow, overworked hydraulics, or high ambient stress rather than one tiny failed part.
IR Gun vs Thermal Camera
A lot of fleets delay thermal checks because they assume they need expensive gear. That is backwards.
IR thermometer strengths
- cheap
- fast
- easy to carry
- great for repeat spot checks
- enough for wheels, bearings, batteries, and hoses
Thermal camera strengths
- shows temperature patterns visually
- easier to spot hidden hotspots
- better for electrical panels and complex hydraulic layouts
- useful for sharing evidence with operators or technicians
- stronger documentation for recurring faults
If your fleet has never done thermal inspections, start with an IR thermometer and disciplined routine. If you are managing more machines, more technicians, or repeat electrical and hydraulic issues, a camera starts making real sense fast.
Common Mistakes That Make Thermal Data Useless
Bad thermal habits create false confidence. That is arguably worse than having no tool at all.
The most common mistakes are:
- scanning machines in direct sun and comparing shaded parts to sunbaked parts
- checking components before the machine is under normal load
- taking one number with no comparison point
- ignoring dirty surfaces, mud packs, and reflective metal
- failing to log where the reading came from
- treating every warm part like an emergency
- treating one obvious hotspot like the final diagnosis
Thermal inspection should narrow the hunt, not end it.
A Simple Thermal Inspection Schedule
You do not need to thermal-scan every machine every day. You do need a repeatable program.
Weekly for high-use or problem units
- wheel ends
- brakes
- battery and charging connections
- hydraulic pump temperatures
- final drives or travel motors
Monthly for the broader fleet
- cooler pack comparison
- fuse and disconnect points
- main harness power distribution
- driveline supports and bearings
- high-load attachments or specialty circuits
Immediately after a complaint
- burning smell
- sluggish travel
- one side pulling
- repeated fuse failures
- intermittent charging issues
- warm-running hydraulic functions
Real-World Example
Consider a compact fleet with three similar wheel machines doing the same kind of work. One operator reports that his machine “just feels heavier” at the end of the day. Fuel burn is a little worse, but nothing dramatic. Nobody finds an active hydraulic leak, the engine sounds normal, and the machine still finishes the shift.
A thermal check after the route tells the real story. One rear hub is significantly hotter than the same hub position on the other two machines. A battery disconnect connection is also warmer than expected, though not critical yet. The hub inspection finds early bearing trouble and drag beginning at the brake. The electrical issue turns out to be a loose cable lug waiting to become next week’s no-start call.
That is the whole point. Thermal inspection lets you catch the first problem before it destroys parts and the second problem before it strands the machine.
How FieldFix Helps
Thermal inspections create the most value when they stop being random.
FieldFix helps teams:
- log repeat temperature checks by machine and component
- attach thermal photos and notes to a service record
- compare readings over time instead of trusting memory
- document follow-up repairs tied to the original hotspot
- spot recurring patterns across the fleet before they become standard downtime
Turn Heat Clues Into Action
If your crew already carries grease guns, pressure gauges, and multimeters, thermal inspection is the next obvious step. The trick is not buying a gadget. The trick is building a repeatable system around it.
FieldFix gives you one place to track machine temperatures, recurring hotspots, follow-up repairs, and fleet-wide trends so “that side always runs hot” turns into a documented maintenance action instead of shop folklore.
Start using FieldFix to track inspections, service history, and downtime trends.