Heavy Equipment Maintenance Shop Layout: Build a Safer, Faster Service Bay
Learn how to design a heavy equipment maintenance shop layout that reduces downtime, improves safety, speeds repairs, and keeps technicians productive.
Key Takeaways:
- A good service-bay layout reduces wasted motion and shortens repair cycle times
- The biggest shop mistakes are poor traffic flow, weak parts staging, bad lighting, and unclear tool locations
- You do not need a massive building; you need clearer zones and repeatable processes
- Shops that separate dirty teardown from inspection and assembly usually produce cleaner diagnostics
- FieldFix works best when your shop process and maintenance records support each other
Why Shop Layout Matters
Most fleets obsess over the condition of the machine and ignore the condition of the place where the machine gets repaired. That is backwards.
A sloppy shop layout quietly burns time every day. Techs walk back and forth for tools. Parts disappear into random shelves. Machines get parked in the wrong bay. A simple inspection turns into a scavenger hunt.
If one technician loses 20 minutes per day to poor layout, that is more than 80 hours a year. Multiply that across multiple techs, helpers, and service writers and the shop is bleeding labor without anyone entering a bad number into a spreadsheet. Poor layout also makes diagnostics worse because clutter hides leaks, damaged hoses, bent guards, and missing hardware.
A hard truth: Many fleets think they have a maintenance problem when they actually have a workflow problem. Better PM compliance helps, but a chaotic shop can still turn good technicians into slow technicians.
The Core Zones Every Shop Needs
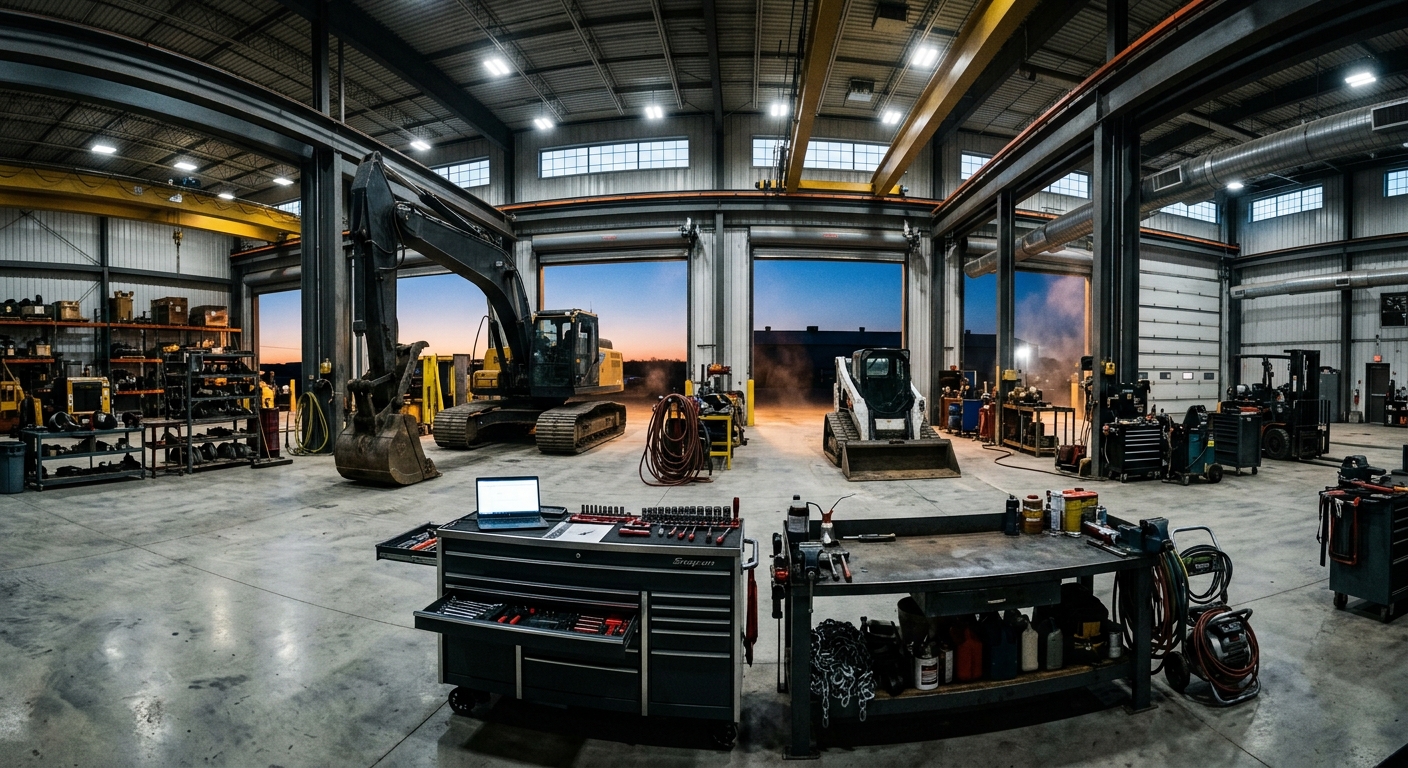
The best maintenance shops are designed around movement. Every machine, person, tool, part, and waste stream should have an obvious path.
At minimum, create these zones:
1. Intake and Initial Inspection
This is where the machine arrives, gets tagged, and receives a quick condition review. It should be close to the main door and have room for a walkaround without blocking another bay.
Good intake zones include:
- Floor markings for safe parking position
- Wheel chocks, lockout gear, and spill response supplies
- A small desk or tablet stand for opening work orders
- Bright lighting for visible leaks, cracked glass, damaged guards, and undercarriage issues
2. Dirty Teardown Zone
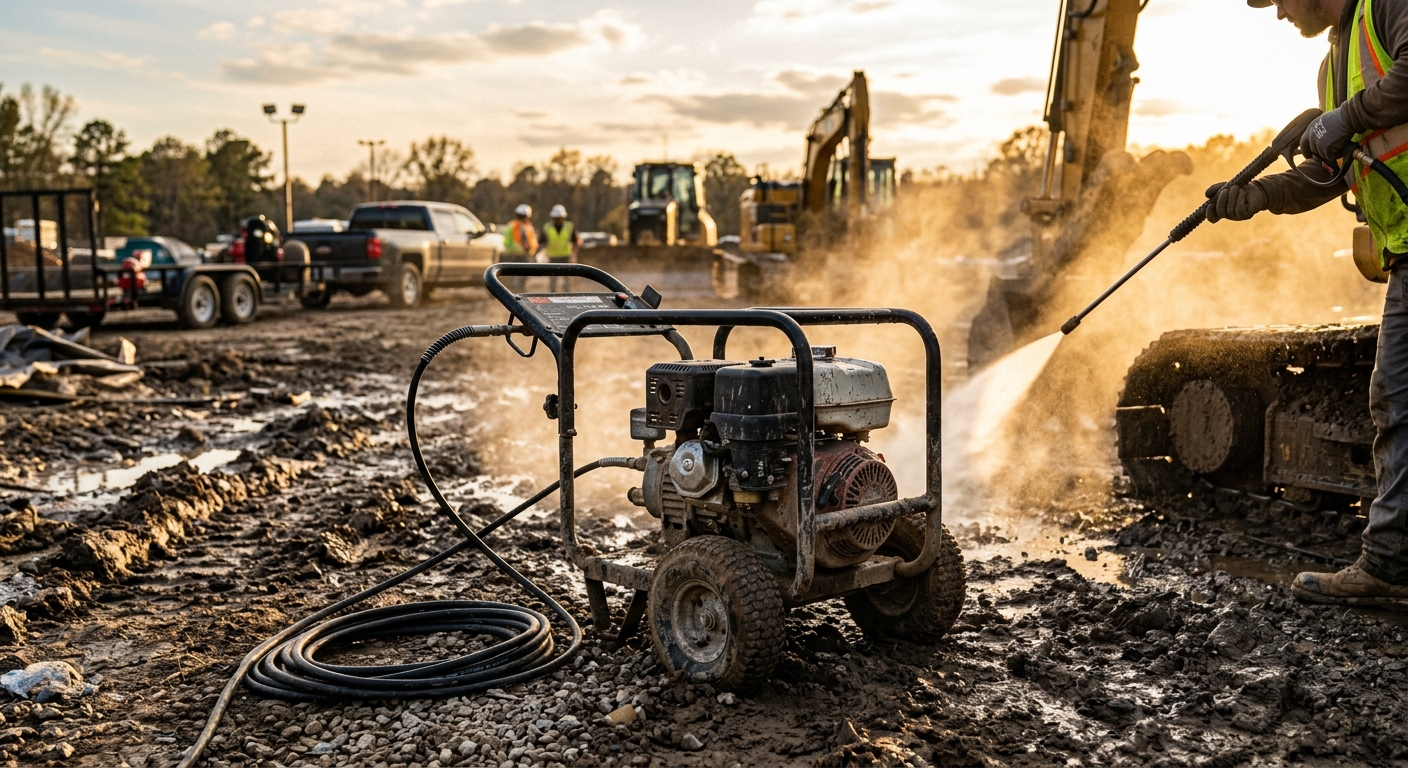
This is where muddy, greasy, and contaminated work happens. If dirty teardown blends into every bay, the whole shop becomes harder to clean and inspect.
Use this area for:
- Undercarriage wash prep
- Hydraulic hose removal
- Fuel and coolant draining
- Failed part teardown and contamination review
3. Repair and Assembly Bays
These are your money bays. They should be the cleanest, best lit, and easiest to access. Ideally each bay supports a predictable class of work.
4. Parts Staging
Every active repair should have a designated parts cart, pallet, or rack location. If removed parts and new parts get mixed together, you are inviting wrong installs, lost hardware, and expensive delays.
5. Fluid Storage and Waste Handling
Keep fresh fluids, used fluids, filters, absorbents, and disposal containers in a deliberate zone away from general traffic.
6. Tool Crib and Common Supplies
High-use items should sit near the center of activity. Specialty tools can live farther away, but the daily basics should not require a hike.
Simple rule: If the same item gets used in more than half your work orders, it belongs near the bays, not buried in the back room.
How to Design Workflow That Saves Time
Once the zones exist, design the order of movement between them:
- Machine enters intake
- Work order is opened and initial condition is recorded
- Machine moves to wash or dirty teardown if needed
- Machine enters repair bay
- Parts are staged before the repair begins
- Finished machine goes to final inspection or ready line
Many shops run it backward. Parts get ordered late. Teardown happens in the wrong bay. Final inspection gets skipped because the next machine is already waiting at the door.
Minimize Cross-Traffic
The worst layouts force people and machines to cross each other’s paths all day. That creates delays and near misses. A forklift carrying parts should not weave around a telehandler being repositioned. A technician carrying a drained final drive should not squeeze past a customer pickup area.
Use painted lanes, one-way flow when possible, and clear parking assignments for:
- Waiting machines
- Active repairs
- Finished units
- Parts delivery
- Waste pickup
Standardize Bay Purpose
Not every bay needs to do everything. In fact, that is usually a mistake. Assign a primary use to each bay so the team stops improvising.
Dedicated Bays vs Flexible Bays
Dedicated bays work best when:
- ✅ Your fleet has repeatable work like PMs, undercarriage repairs, or trailer service
- ✅ You want the same tools and consumables always at hand
- ✅ You are training newer technicians who benefit from consistency
Flexible bays work best when:
- ✅ Your job mix changes constantly
- ✅ You work on many machine classes with uneven scheduling
- ✅ Your space is limited and every bay must adapt
The practical middle ground:
- Keep 1-2 bays flexible
- Give the rest a clear default purpose
- Standardize storage so flexing bays does not create chaos
Build Around the Most Common Jobs
Do not design the shop around rare overhaul work if most of your volume is routine PM, hoses, filters, batteries, tires, and wear items.
Example: The PM Bottleneck
A five-truck earthmoving contractor kept complaining that preventive maintenance consumed entire mornings. The root problem was not labor skill. Their filters lived in one room, grease lived in another, waste barrels sat outside a side door, and service checklists were on paper in the office. After creating one PM bay with a mobile fluid cart, filter rack, tablet stand, and waste station, average PM time dropped by roughly an hour per machine because the technician stopped walking laps.
Lighting, Power, Air, and Fluids
A shop can look tidy and still be badly equipped. The support systems matter just as much as the floor plan.
Lighting
Bad lighting creates false diagnostics. A slow leak, rubbed hose, cracked weld, or loose fitting is easier to miss when the bay is dim or shadowed. Use bright overhead LED fixtures and supplement them with magnetic task lights and under-machine lighting.
Focus extra light on engine compartments, undercarriage inspection areas, hose benches, and documentation stations.
Power and Compressed Air
Avoid running cords and hoses across walkways. That is amateur-hour stuff and it causes trips, tool damage, and frustration. If possible, drop power and air from reels overhead or keep connections mounted at each bay.
Fluid Delivery
If techs must fetch engine oil, hydraulic fluid, coolant, and grease from scattered corners of the building, they will lose time and increase spill risk.
Contamination risk: Shared funnels, unlabeled containers, and dirty transfer pumps can wreck the benefit of careful maintenance. The shop layout should make the correct fluid easy to grab and the wrong fluid hard to grab.
Tool Storage and Parts Staging
Shops fall apart when nobody can answer a simple question: “Where does that go?”
Set a Home for Common Tools
Every bay should have the same home location for the items used constantly:
- Torque wrench
- Pry bars
- Hose caps and plugs
- Drain pans
- Tagging supplies
- Inspection light
- Clean rags and absorbents
For mobile items like torque multipliers or pressure-test kits, use sign-out tags or assign them to a visible storage zone.
Stage Parts Before You Start
Starting a repair before the parts are staged is one of the dumbest ways to trap a bay for half a day. Verify that the needed filters, seals, hoses, fasteners, and fittings are physically present before teardown goes too far.
Match your staging discipline to the job type:
- PM work should be fully staged before the machine enters the bay
- Planned component swaps should be staged with seals, fluids, and hardware
- Diagnostic work should have a parts cart ready for likely replacements and removed components
Example: The Missing O-Ring Tax
One contractor kept losing two-hour chunks on hydraulic hose jobs because the new hose was ready but the tech had to leave for fittings, clamps, or the correct O-ring. Once they created a hose-repair station with labeled adapters, caps, sleeves, and common seals, the “small jobs” stopped becoming all-day disruptions.
Safety Risks to Eliminate Early
A poor layout is a safety problem before it is a productivity problem.
Look for these high-frequency issues:
- Machines parked too close for safe access
- Welding activity too near fluids or oily teardown areas
- Parts stacked in walkways
- No clear lockout/tagout station
- Drain pans and hoses left in traffic lanes
- Inadequate ventilation for exhaust, solvents, or wash chemicals
- No defined area for damaged batteries or fire-risk materials
Do not normalize clutter. Shops often adapt to dangerous layouts because “we’ve always done it this way.” That sentence has paid for plenty of injuries and equipment damage.
Small Shop vs Large Shop Tradeoffs
Small fleets sometimes assume shop layout advice only applies to giant facilities. That is nonsense. Smaller shops usually benefit more because every wasted square foot hurts.
In a Small Shop
Prioritize mobile systems:
- Rolling tool carts
- Mobile fluid carts
- Fold-down work surfaces
- Portable lighting
- Wall-mounted storage to keep the floor open
The goal is not to copy a dealership. The goal is to keep the bay convertible without becoming random.
In a Larger Shop
The risk is the opposite. Space can hide inefficiency. In bigger facilities, zoning, signage, and standard work become even more important.
Small Shop Advantages and Limitations
Advantages:
- ✅ Shorter walking distances when organized well
- ✅ Easier to spot clutter and workflow breakdowns
- ✅ Lower cost to reconfigure quickly
Limitations:
- ❌ Fewer dedicated bays
- ❌ More pressure on parts staging discipline
- ❌ One blocked bay can disrupt the whole operation
A Real-World Shop Reset Example
Picture a contractor with eight compact and mid-size machines, two service trucks, and one three-bay shop. The team feels constantly behind. PMs are late. Repairs take longer than they should. Then the owner walks the floor with a stopwatch and sees what is actually happening:
- Techs repeatedly leave bays to find drain pans, lights, and absorbents
- New parts get mixed with removed parts on the same bench
- One bay has become unofficial long-term storage
- The wash area drains poorly, so dirty machines skip cleaning and enter repair muddy
- Work orders are updated after the fact because the tablet has no home location
That owner does not need a new building first. He needs a reset:
- Reclaim the storage bay and move dead inventory out
- Assign one PM bay, one repair bay, and one flex bay
- Create a hose and fitting station
- Put a tablet stand and charging point at intake
- Mark waiting, active, and ready areas on the floor
- Put waste handling where people can use it without a detour
Within a month, the day feels different: less hunting, less backtracking, faster closeout.
A 30-Day Improvement Plan
If your shop needs help, do not start by buying expensive cabinets. Start by fixing flow.
Week 1: Observe and Map
- Track where techs walk during PM and common repairs
- Identify blocked lanes, clutter zones, and duplicate storage
- Write down the 20 items used most often
Week 2: Reassign Space
- Define intake, dirty work, repair, staging, and waste zones
- Remove dead storage from valuable bay space
- Mark floor positions for machines and carts
Week 3: Standardize
- Give every common tool and consumable a home
- Build a standard bay reset checklist
- Require parts staging before planned repairs
Week 4: Measure and Adjust
- Compare repair cycle times against week 1
- Ask techs what still causes walking, waiting, or confusion
- Refine bay purpose and supply placement
Best practice: Take photos of each bay in “reset” condition and post them. That gives the team a visible target and makes drift obvious.
Track Shop Performance With FieldFix
A well-organized shop becomes much more powerful when the digital workflow is just as clear as the floor layout.
FieldFix helps maintenance teams track service history, organize machine records, log issues before they snowball, and make smarter repair decisions across the fleet.
Use FieldFix to support the layout improvements above:
- Log repeat failures by machine so the same bay is not solving the same problem blindly
- Standardize PM checklists across technicians
- Build a cleaner record of parts usage, fluid service, and repair outcomes
- Spot bottlenecks between inspection, approval, repair, and return to service
Build a Shop That Works as Hard as Your Fleet
Your maintenance shop should speed repairs up, not slow them down. If your bays are costing you time, missed PMs, and messy handoffs, FieldFix gives you the system to organize the work behind the wrench.
Start using FieldFix to track maintenance, reduce downtime, and turn shop chaos into a repeatable process.