Heavy Equipment Boom and Stick Wear Pad Maintenance Guide
Learn how to inspect, adjust, and replace boom and stick wear pads before slop, cracking, and accelerated structural damage create costly downtime.
Key Takeaways:
- Boom and stick wear pads are cheap compared with the pins, bores, and structural sections they protect
- Slop, banging, uneven gaps, and polished steel are early signs that wear pads are already losing the fight
- Running worn pads too long can turn a small maintenance item into cracking, misalignment, and major line-boring work
- Daily operator feedback matters because wear pad problems often show up as noise, drift, and harsh movement before anyone sees visible damage
- Tracking inspections, shim changes, and replacements in FieldFix makes it easier to catch repeat wear patterns across the fleet
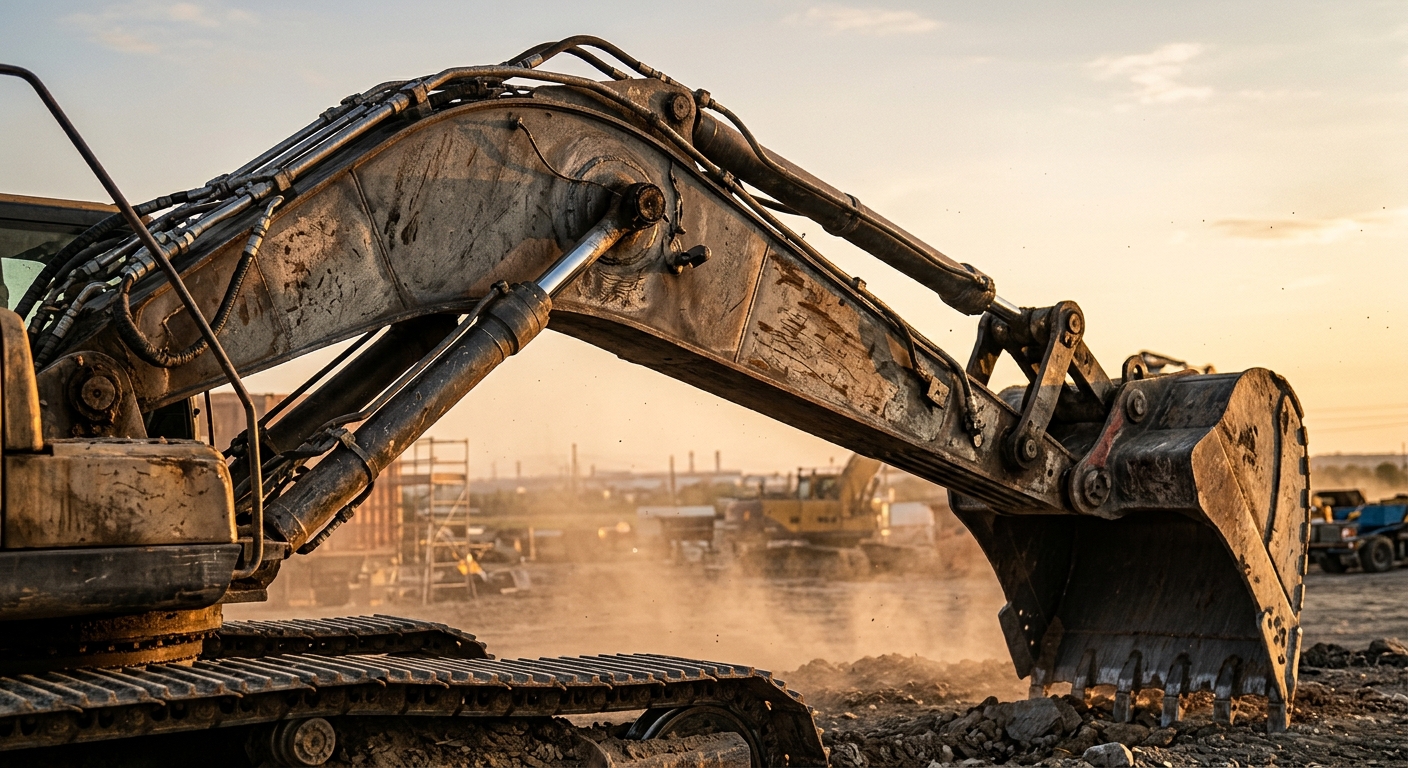
Boom and stick wear pads do not get much attention because they are not flashy parts. They do not have the drama of a blown hose, a failed final drive, or a dead battery. But when they wear out and nobody acts, the damage spreads fast. You start with extra clearance and noise. Then you get impact loading, scraped metal, crooked movement, cracked weld zones, and expensive structural work that should have been avoided.
That is why smart fleets treat wear pads as sacrificial components, not optional ones. Their entire job is to wear first so the expensive structure does not.
This guide covers how wear pads work, how to inspect them, when to adjust them, and how to keep a cheap wear item from becoming a brutal repair bill.
Why Wear Pads Matter More Than Most Fleets Think
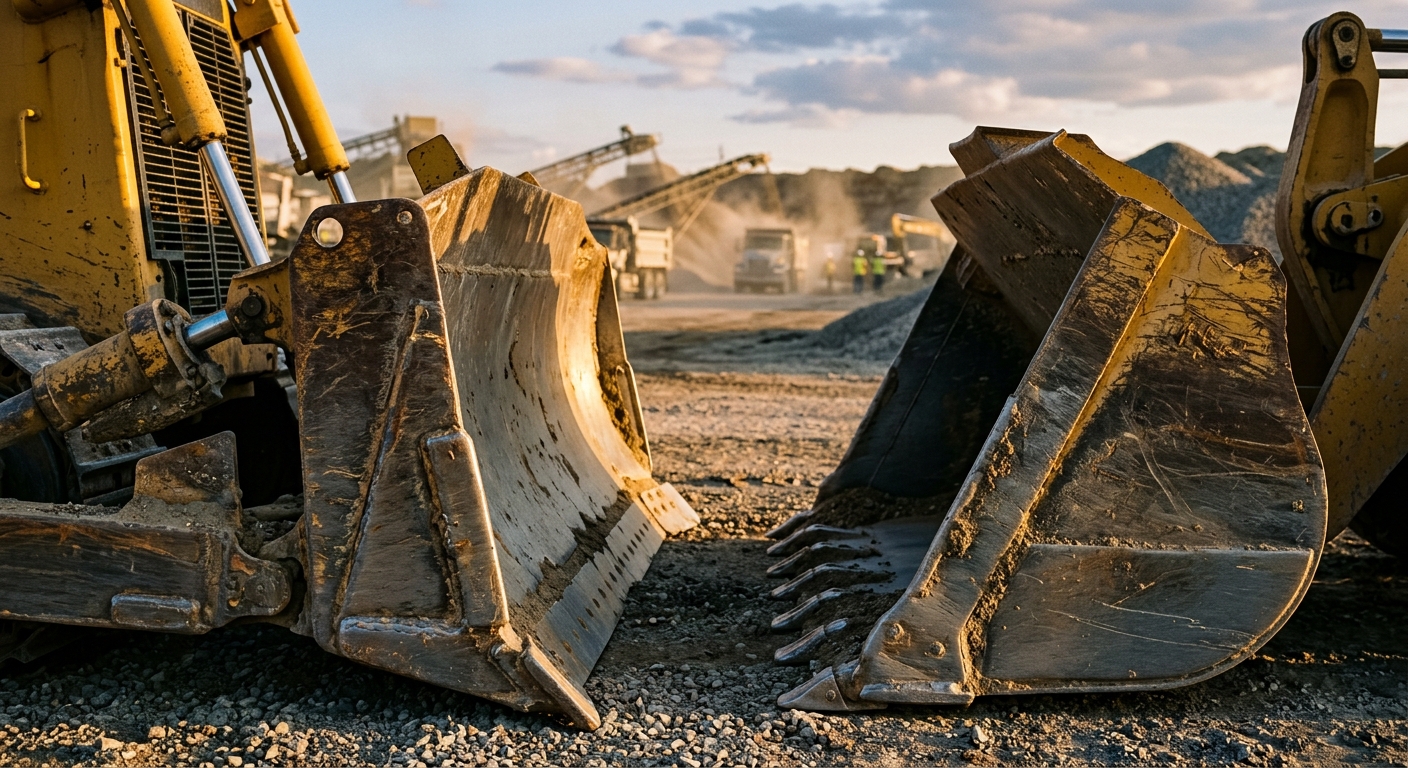
Wear pads sit in high-contact areas where boom, stick, extension, or sliding structures need controlled support. On excavators, material handlers, and other heavy machines, they help maintain alignment, distribute load, and prevent direct steel-on-steel contact.
When they are in good shape, you barely notice them. When they wear out, the whole machine starts feeling loose.
Important: Wear pads are supposed to wear. That is not failure. Failure is treating a sacrificial part like it should last forever and then being shocked when the parent structure gets chewed up.
What Boom and Stick Wear Pads Actually Do
Think of wear pads as controlled friction points and alignment protectors. Depending on the machine design, they can:
- Keep telescoping or nested boom sections centered
- Prevent side-to-side movement in supported structures
- Cushion contact surfaces under load
- Reduce noise and impact as components move through their travel
- Protect parent steel from direct abrasion
Some pads are shim-adjustable. Some are fixed. Some are polymer-based. Others use composite materials designed for specific load and contamination conditions. Whatever the design, the principle is the same: let the replaceable surface take the abuse.
Healthy Wear Pad Setup vs Neglected Setup
Healthy
- ✅ Consistent gap and support
- ✅ Smooth, controlled machine movement
- ✅ No sharp banging or clunking
- ✅ Wear concentrated on the replaceable pad
Neglected
- ❌ Loose movement under load
- ❌ Steel contact marks on parent structure
- ❌ Uneven pad wear from misalignment
- ❌ Cracking, elongation, or deformation around support zones
If you run a machine with worn pads long enough, the structure starts carrying load in ways the OEM never intended. That is where the real money disappears.
The First Warning Signs of Wear Pad Failure
Most fleets miss early wear pad problems because nobody is specifically looking for them. Operators mention a rattle. A tech hears a clunk. Someone notices polished steel. Then everybody gets busy and the machine goes back to work.
The most common warning signs are:
- Clunking or knocking during boom or stick movement
- Visible looseness or shifting under load
- Uneven pad wear from one side to the other
- Shiny metal contact areas where there should not be direct contact
- Cracked, missing, mushroomed, or broken pad material
- Frequent need for adjustment with the same machine
- Operator complaints that the front end feels rough, sloppy, or noisy
Warning: If you can already see polished parent steel, you are not “monitoring wear.” You are late. The pad has stopped protecting the expensive stuff.
Some machines also show secondary symptoms like faster hose wear, inconsistent grade control feel, and a harsher shock through the structure when the operator stops movement abruptly.
How Wear Pad Neglect Turns Into Structural Damage
Wear pads fail in stages. Understanding those stages helps crews act before damage multiplies.
Stage 1: Clearance Increases
The pad wears thinner. Movement still seems acceptable, but tolerances are opening up and load distribution is getting worse.
Stage 2: Impact and Misalignment Start
Now the structure moves more than it should. Operators hear knocks, especially during direction changes or heavy bucket work.
Stage 3: Steel-on-Steel Contact
The parent structure begins taking direct abrasion. Paint disappears. Polished wear tracks show up. Cracking risk jumps.
Stage 4: Structural Repair Territory
You may now need weld repair, bore correction, fabrication work, or section replacement in addition to new pads.
That progression is exactly why this maintenance item matters. A crew will often postpone a few hundred dollars of parts and labor, then eat thousands in repair work plus downtime when the machine has to come out of service.
Expensive mistake: Do not keep tightening, shimming, or forcing a bad setup if the parent steel is already distorted. That only masks the issue while the structure keeps getting hammered.
A Practical Inspection Routine
Wear pad inspections do not need to be complicated, but they do need to be deliberate. A quick check during wash-down or service is usually enough to catch the big problems.
Here is a practical routine:
- Clean the contact area so dirt does not hide cracks, gaps, or rub marks
- Inspect each visible pad for cracking, chunking, deformation, or missing material
- Check for shiny steel or scraped paint outside the intended contact zone
- Compare left and right side wear patterns
- Look for uneven gaps or support points
- Cycle the boom or stick and listen for clunks during start, stop, and reversal
- Watch for movement that looks like rocking, shifting, or dropping into clearance
- Check any adjustable or shimmed pad locations against spec
Pro tip: The best time to catch wear pad problems is right after cleanup. Clean steel tells the truth. Mud lies for weeks.
If your OEM provides a measurement method for clearance, use it. Feel is not a maintenance standard. A technician saying “it seems a little loose” is a clue, not a diagnosis.
Adjust, Shim, or Replace?
This is where fleets either save money or create a mess.
If the pads are designed for adjustment and the pad material is still sound, a shim or clearance adjustment may be the correct move. If the pad is cracked, chunked, thin, heat-damaged, or wearing unevenly because of another mechanical issue, replacement is the better answer.
Use this simple logic:
- Adjust: Clearance has grown slightly, pad material is intact, and wear pattern is still even
- Replace soon: Pad is visibly worn near limit, noise is increasing, or repeated adjustment is needed
- Stop and inspect deeper: Parent steel is marked, pad wear is highly uneven, or structural movement is obvious
Shim It vs Replace It
Shim / Adjust
- ✅ Fast and inexpensive
- ✅ Good when wear is mild and geometry is still correct
- ✅ Useful for keeping tolerance in spec between services
- ❌ Bad choice if the pad is already damaged
Replace
- ✅ Restores the sacrificial surface properly
- ✅ Better when noise and looseness are already noticeable
- ✅ Helps reset the system before structure gets touched
- ❌ Slightly more downtime and planning
Repeated adjustment on the same machine is usually telling you something. Either the machine is being worked hard in a contamination-heavy environment, the operator is shock-loading the structure, or alignment is off somewhere else.
Operator Habits That Accelerate Wear
Wear pads do not live in isolation. Operator technique has a huge effect on how fast they disappear.
The biggest wear accelerators are:
- Abrupt starts and stops that slam load into the structure
- Using the front end like a battering ram instead of making controlled movements
- Side-loading attachments during digging, prying, or handling
- Running in contamination-heavy conditions without routine cleanup
- Ignoring early noise because the machine still feels productive
Machines that live in demolition, scrap, forestry, or muddy utility work tend to eat wear surfaces faster because contamination and impact are constant. That does not mean damage is unavoidable. It means service intervals need to reflect reality instead of hope.
Good coaching works: If one operator reports a machine as rough and another says it is fine, ride with them. Smooth operators often expose fewer wear problems because they are not creating them every shift.
Replacement Planning and Parts Strategy
Do not wait until a wear pad breaks apart to order parts. These are exactly the kind of items that should be stocked or at least preplanned for the machines that matter most.
Good replacement planning looks like this:
- Identify high-hour or high-abuse machines in the fleet
- Record pad part numbers, shim kits, and hardware ahead of time
- Photograph normal wear versus replacement-threshold wear
- Keep one replacement set for critical production machines
- Pair wear pad replacement with related inspections for cracks, retainers, fasteners, and alignment
If you need the machine every day, treat wear pads like filters, belts, or common hose kits. Planned replacement is cheaper than emergency downtime. Every time.
A Simple Wear Pad PM Schedule
The exact interval depends on machine type, environment, and OEM guidance, but this baseline works well for many fleets:
Suggested Wear Pad Service Rhythm
Daily or every shift
- Listen for clunks, rattles, or harsh movement
- Watch for visible looseness during operation
- Note any operator complaints immediately
Every 250 hours
- Clean and visually inspect exposed pad areas
- Check for abnormal contact marks and uneven gaps
- Verify adjustment points if applicable
Every 500 hours
- Measure clearance where the OEM provides a spec
- Inspect surrounding support steel, hardware, and retainers
- Replace pads nearing wear limit on critical machines
At every major structural service
- Inspect for cracks, deformation, and repeat wear patterns
- Review machine history to see whether the same location keeps wearing early
If the machine works in demolition, material handling, forestry, or severe contamination, shorten the interval. Severe duty laughs at generic PM schedules.
How FieldFix Helps You Stay Ahead
Wear pad problems are easy to forget because they develop gradually. That is exactly where a maintenance system earns its keep.
With FieldFix, fleets can:
- Log inspection notes and photos the moment looseness or abnormal wear is found
- Track shim adjustments and replacement dates by machine
- Compare repeat wear locations across similar units
- Build preventive reminders based on hours, not guesswork
- Keep repair history attached to the asset instead of trapped in one technician’s memory
That matters because recurring wear is usually a pattern, not random bad luck. Once you can see the pattern, you can fix the cause instead of just feeding the symptom.
Stop Letting Small Wear Turn Into Big Steel Damage
FieldFix helps contractors and fleet owners track inspections, maintenance history, and repeat failure patterns before they become ugly downtime. If your machines are starting to feel loose, noisy, or rough, document it now and stay ahead of the repair.