Heavy Equipment Outrigger and Stabilizer Maintenance Guide: Prevent Drift, Damage, and Costly Downtime
Learn how to inspect, maintain, and troubleshoot heavy equipment outriggers and stabilizers to prevent drift, instability, structural damage, and downtime.
Key Takeaways:
- Outriggers and stabilizers are not passive hardware. They are load-bearing safety systems that need scheduled inspection and documentation.
- Small issues like pad wear, pin slop, hose chafing, and slow cylinder seepage usually show up before the big expensive failure.
- Drift is never “normal.” If a machine settles under load, something is worn, leaking, or out of adjustment.
- Dirty setup habits ruin outriggers faster than most fleets realize, especially on soft ground and rushed job changes.
- A repeatable inspection checklist plus photo-based maintenance logs will catch problems earlier and make repair decisions easier.
Outriggers and stabilizers do not get much love until they cause a near-miss. That is backward. On cranes, boom trucks, concrete pumps, digger derricks, service trucks, lifts, and other equipment that relies on extension legs for stability, these systems are doing brutally important work every time the machine leaves the ground load path and transfers force into the jobsite.
When an outrigger creeps, a pad sinks, a cylinder seal leaks, or a beam develops play, the problem is not just maintenance-related. It is operational, financial, and safety-critical all at once. The machine becomes harder to level, slower to set up, less predictable under load, and more likely to damage itself or the ground beneath it.
That is why this guide takes a hard line: outriggers are not “inspect when convenient” components. They deserve the same discipline you give brakes, steering, and lifting hardware.
Why Outrigger Maintenance Matters More Than People Think
Most fleets only think about outriggers when something obvious happens. A foot pad cracks. A jack leaks. A beam sticks halfway out. A machine feels unstable. By that point, the cheap fix window may already be gone.
Here is what poor outrigger maintenance actually costs you:
There is also a hidden cost: confidence. Crews know when an outrigger system feels tight and when it feels sketchy. If operators do not trust the machine to hold position, they slow down, overcompensate, or start normalizing unsafe behavior. None of that helps productivity.
Non-negotiable rule: If an outrigger or stabilizer will not extend, retract, hold, or level consistently, the machine should not be treated as business-as-usual. Stability problems escalate fast, especially once load and uneven ground enter the picture.
What Actually Fails on Outriggers and Stabilizers
Outrigger failures are rarely mysterious. The same trouble spots show up again and again across fleets:
1. Hydraulic cylinder leakage
Rod seals, gland seals, hoses, and fittings start weeping, then dripping, then drifting. A little seepage often becomes “normal” in the field until someone notices the machine settling.
2. Pin and bushing wear
Slop at pivot points changes load distribution and makes the system feel loose or uneven. It also accelerates wear in nearby mounting points.
3. Beam and box damage
Extension beams get bent, gouged, corroded, or contaminated with packed dirt and debris. Once movement gets rough, operators tend to force things, which makes it worse.
4. Pad and foot damage
Pads crack, deform, wear unevenly, or disappear entirely. A beat-up foot pad spreads load poorly and increases sink risk on questionable ground.
5. Structural cracking
Weld areas around outrigger boxes, mounts, and frame connections see repetitive stress cycles. Small cracks around these areas are a flashing red warning light, not a cosmetic issue.
6. Control and interlock issues
Limit switches, alarms, and position-related interlocks can fail or get bypassed. That is a stupid game with stupid prizes.
Reactive Approach
- ✅ Feels cheaper in the short term
- ❌ Usually catches issues after drift or damage begins
- ❌ Increases emergency repair calls
- ❌ Makes setup slower and less predictable
Preventive Approach
- ✅ Finds wear before stability is affected
- ✅ Helps schedule repairs before failure
- ✅ Builds operator trust in the machine
- ✅ Reduces collateral damage to structure and hydraulics
Daily Inspection Checklist Before Setup
If a machine uses outriggers or stabilizers regularly, the inspection has to happen before the first setup, not after something feels wrong.
Start with a quick walkaround:
- Check outrigger beams for obvious bends, cracks, impact damage, or packed debris.
- Inspect hydraulic rods for scoring, rust, pitting, or oil residue.
- Look at hoses near pinch points and moving sections for chafing or abrasion.
- Confirm pads and floats are present, seated correctly, and not cracked.
- Verify retaining pins, clips, and hardware are in place.
- Look for fresh rust trails around welds and mounting plates.
- Watch for uneven cylinder extension during deployment.
- Confirm the machine levels normally and holds position.
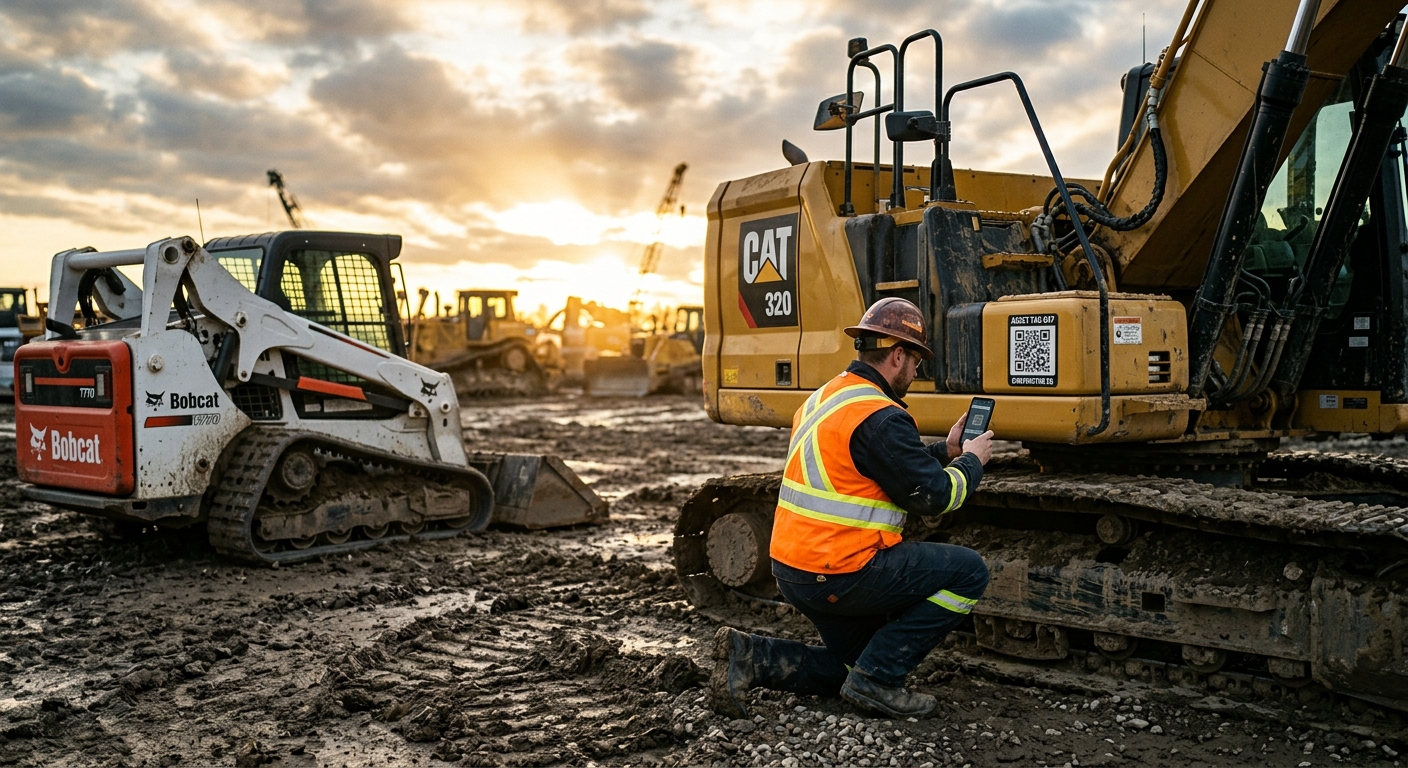
Field tip: Make operators take one photo of each deployed outrigger during setup once per week. That simple habit creates a visual condition history for pads, cylinders, hoses, and stance angles without slowing the crew down.
During deployment, pay attention to feel as much as appearance. A jerky extension, delayed cylinder response, or unusual sound is often the first hint that contamination, air intrusion, binding, or internal leakage is developing.
How to Spot Drift, Slop, and Hidden Damage
Outrigger problems hide in plain sight because the system may still “work” while deteriorating.
Drift is the big one. If a deployed outrigger slowly retracts under load, or the machine loses level over time, you are dealing with one of a few likely causes:
- Internal cylinder bypass
- External hydraulic leakage
- Valve leakage
- Ground failure under the pad
- Mechanical slop causing settlement
Do not shrug this off as a normal quirk.
Case Example: Slow Settle That Wasn’t “Just Soft Ground”
A service truck crew kept re-leveling on jobs and blamed the soil every time. A weekly photo log finally showed the same rear stabilizer dropping slightly even on different surfaces. The real problem was internal cylinder bypass plus a worn pad edge that concentrated ground pressure. They fixed both before the outrigger box itself was damaged.
You should also watch for asymmetry. If one side deploys faster, sits lower, retracts rougher, or shows more pad wear, that imbalance means something. Machines like symmetry. When one corner behaves differently, dig into it.
Warning: Never diagnose drift from one setup alone. Re-test on known solid ground with cribbing or proper pads, measure rod exposure, and compare left versus right. That separates machine issues from jobsite issues fast.
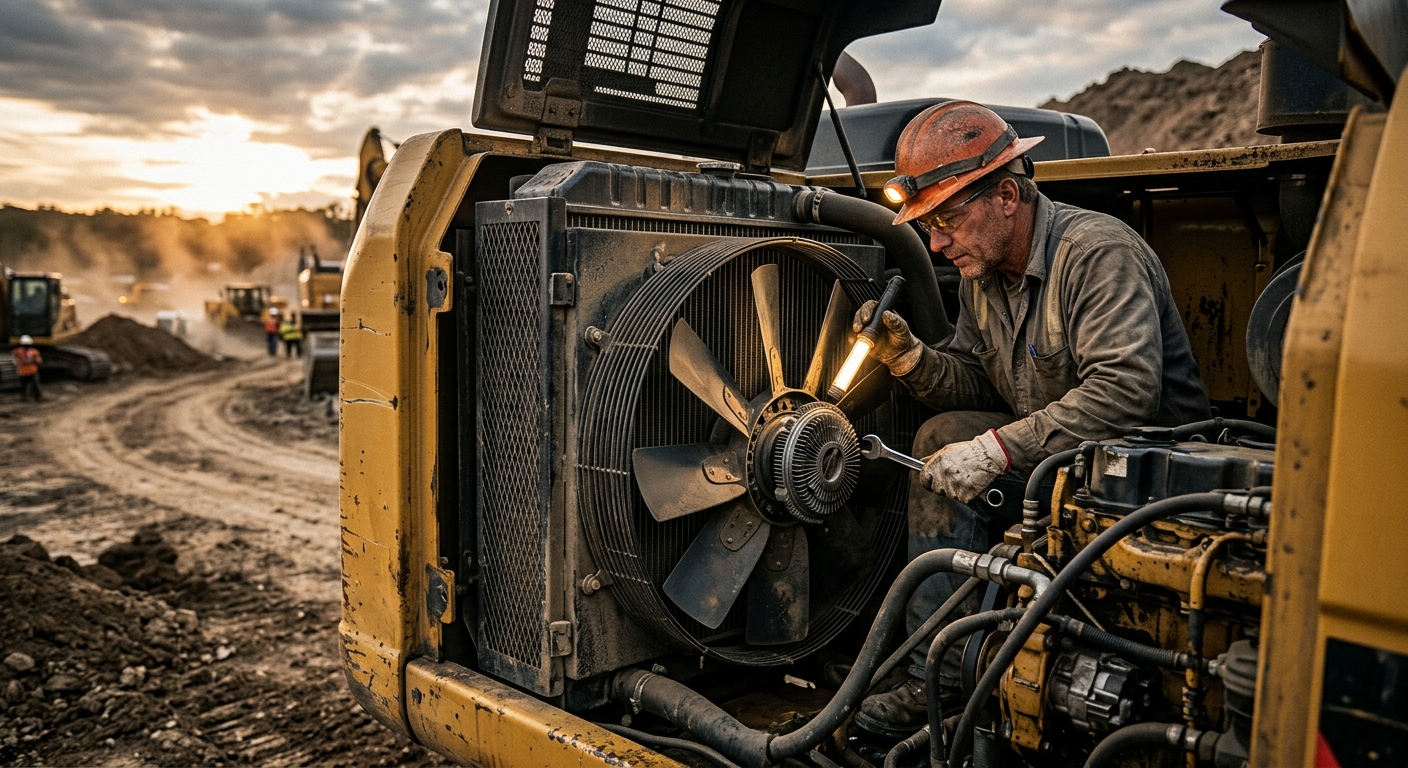
Hydraulics, Pins, Pads, and Structure: What to Service
The maintenance work itself is not glamorous, but it is straightforward if you stay disciplined.
Hydraulic components
Keep rods clean. Dirt on an exposed rod becomes seal damage on the next cycle. Inspect fittings for seepage, tighten only to spec, and replace hoses that are rubbing before they burst. If a cylinder is creeping or leaking, schedule seal work early instead of letting it contaminate everything around it.
Pins and bushings
Check movement against spec, not vibes. If a pin is loose enough to see movement under shifting load, it is already telling you to stop procrastinating. Grease where applicable, and do not ignore ovaled holes or polished wear marks around mounts.
Pads, floats, and cribbing surfaces
Pad condition matters. A worn or broken pad changes how load transfers to the ground. Keep pads clean, flat, and matched to the application. Crews should also inspect cribbing blocks and outrigger mats. Bad support gear ruins good outriggers.
Structural zones
Look closely at weld toes, outrigger box corners, mounting plates, and frame interfaces. That is where fatigue likes to show up first. Clean these areas enough to inspect them properly. Mud is a terrible inspection strategy.
Operator Mistakes That Destroy Outriggers
A lot of outrigger damage is not a parts problem. It is a habits problem.
The usual offenders:
- Setting up on soft, wet, or unverified ground without adequate support
- Side-loading an outrigger because the machine was positioned poorly
- Deploying on slopes and trying to “make it work”
- Retracting with packed mud, stone, or debris still in the beam path
- Driving off before full retraction and secure stow
- Using damaged cribbing because “it should be fine for one lift”
Reality check: Operators can destroy a healthy outrigger system faster than technicians can repair a neglected one. Good setup discipline is part of maintenance, not separate from it.
Training matters here. Crews should understand not just what to do, but why it matters. When operators know that beam twist leads to binding, or that a damaged pad edge can spike ground pressure, they make better choices under time pressure.
Repair Now vs Monitor Later
Not every imperfection requires immediate teardown, but some absolutely do.
Repair immediately if you find:
- Visible cracking near outrigger mounts or structural weld zones
- Fast drift or inability to hold level
- Missing, broken, or badly deformed pads
- Cylinder rod scoring or significant leakage
- Loose retaining hardware or missing pins
- Any control or interlock issue tied to deployment or safe use
Monitor closely and schedule repair soon if you find:
- Minor seepage without active drift
- Early hose jacket wear
- Small but measurable play at pivots
- Cosmetic corrosion that has not reduced section integrity
- Debris contamination causing rough movement but no visible damage yet
Case Example: Cheap Hose Fix vs Expensive Outrigger Box Repair
A fleet manager noticed hose chafing where a line rubbed during every extension cycle. Replacing the line and clamp routing cost almost nothing. Ignoring it would have eventually sprayed fluid, contaminated the beam track, and encouraged binding under load. That is how a tiny hydraulic issue snowballs into a multi-part repair.
A Real-World Preventive Maintenance Schedule
Here is a practical maintenance rhythm that works for most fleets:
Daily or every use
- Visual inspection before deployment
- Clean rods and remove debris from beams and pads
- Watch for even extension, retraction, and hold
Weekly
- Photograph each outrigger deployed
- Inspect hoses and fittings more closely
- Check pad wear, cracks, and hardware retention
- Verify cribbing and support materials are job-ready
Monthly
- Measure or document play at key pins and pivots
- Inspect weld areas and mounting plates after cleaning
- Check for uneven wear patterns side to side
- Review operator notes for recurring complaints
Quarterly or by service interval
- Full hydraulic leak inspection
- Structural inspection with better access and cleaning
- Bushing and pin condition review
- Control/interlock verification if applicable
Best practice: Tie outrigger inspection records to the machine, not the technician who happened to look at it. Maintenance should stay with the asset so trends are visible over time.
Why Documentation Changes Everything
This is where most fleets still leave money on the table. They inspect things, notice things, talk about things, and then fail to preserve the information in a useful way.
Outrigger maintenance improves fast when you log:
- Photos of pads, cylinders, beams, and weld zones
- Dates when drift was noticed
- Which corner or side showed the issue
- Whether the problem appeared on multiple jobsites
- Repair history for seals, hoses, pins, or structure
- Operator notes about rough extension or uneven leveling
Without that record, every problem feels new. With it, patterns become obvious. You can prove whether a drift complaint is recurring, whether one corner keeps eating pads, or whether a machine has been slowly getting looser for three months.
That is exactly the kind of visibility FieldFix is built for. A good maintenance system lets you attach photos, log issues from the field, compare service history, and stop treating critical equipment knowledge like campfire folklore.
Stop Guessing About Stability
Outriggers and stabilizers are too important to manage from memory. FieldFix helps you document inspections, track recurring issues, store photo evidence, and keep service history tied to each machine.
The short version: if your fleet depends on outriggers, treat them like the safety-critical systems they are. Clean them, inspect them, photograph them, log them, and repair them before the machine starts telling you the hard way. That discipline is cheaper than drift, cheaper than structure damage, and a hell of a lot cheaper than a preventable incident.