Heavy Equipment Safety Decals: Inspection and Replacement Guide
Learn how to inspect, replace, and document heavy equipment safety decals before faded warnings become compliance, liability, or injury problems.
Key Takeaways
- Safety decals are not cosmetic. They communicate crush, pinch, burn, rollover, electrical, and service hazards at the point of risk.
- Faded, painted-over, torn, or missing decals create compliance gaps and increase liability after an incident.
- Decal inspection should be part of routine PMs, wash cycles, body repair, repainting, and machine intake.
- Fleets need a repeatable replacement process: identify, clean, order correctly, install correctly, and document the work.
- A simple photo log and checklist inside FieldFix keeps warning labels from turning into “we thought it was there” arguments later.
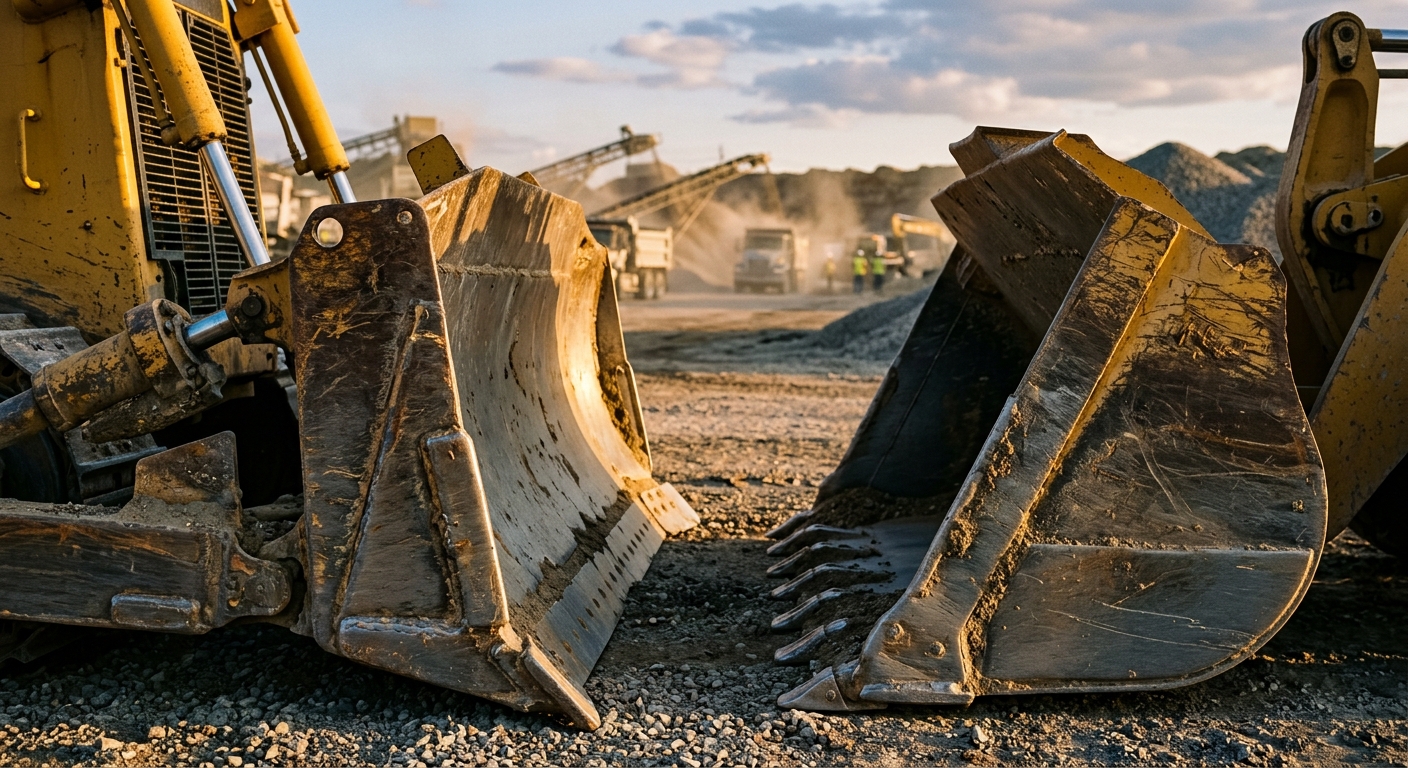
Most fleets are disciplined about filters, fluids, and grease. Then they ignore safety decals until one is hanging by a corner, buried under grime, or completely gone after a repaint.
That is a mistake.
Safety decals are part of the machine’s risk-control system. They warn operators, technicians, spotters, renters, and new hires about hazards exactly where those hazards exist. A missing pinch-point decal on a quick coupler is not just a housekeeping issue. A washed-out hot-surface warning near the engine bay is not just ugly. Those labels help prevent injuries, support training, and back up the fleet when questions come after an incident.
This guide covers what safety decals do, how they fail, what to inspect, and how to replace them without turning the process into a paperwork circus.
Why Safety Decals Matter More Than Most Fleets Think
Warning labels are easy to dismiss because they are quiet. They do not move, leak, squeal, or throw codes. But they do something most mechanical parts do not: they communicate risk instantly at the point of use.
When an operator climbs into a machine they have not run in six months, decals help refresh critical rules without opening a manual. When a tech opens a panel, service warnings identify stored energy, crush hazards, burn hazards, or lockout instructions before hands go where they should not. When a machine changes hands through rental, resale, or temporary staffing, safety labels reduce dependence on tribal knowledge.
Common blind spot
Many fleets treat decals like cosmetic trim. Regulators, insurers, lawyers, equipment buyers, and injured workers usually do not.
Missing or unreadable decals matter for four reasons:
- Injury prevention: they flag hazards people can miss when tired, rushed, or unfamiliar with the machine
- Compliance: many labels are part of the manufacturer’s required safety information
- Liability: after an accident, documented warnings matter
- Resale value: neglected labels signal a neglected machine
What Counts as a Safety Decal
Not every sticker on a machine is a safety decal. Branding, fleet numbers, maintenance reminders, and grease diagrams may be useful, but they are not the same category.
Safety decals usually include:
- Crush and pinch-point warnings
- Rotating component warnings
- Electrical hazard labels
- Hot surface and burn warnings
- Rollover and seat belt reminders
- Lockout or service procedure warnings
- Lift-point, tie-down, and load-chart safety information
- Quick coupler, attachment, and exclusion-zone warnings
- Platform, outrigger, and overhead hazard labels on lifts and cranes
These labels matter most when the hazard is not obvious to someone standing there in the moment. A seasoned operator may “know” the risk around a swing radius or stored-pressure component. A new employee, rental customer, or technician from another trade may not.
Important distinction
Instruction decals and safety decals often work together. If a label tells the operator how to lock an attachment or isolate stored pressure before service, that information is part of safe operation, not decoration.
The Real Cost of Missing or Unreadable Warnings
The direct replacement cost of decals is small. The indirect cost of ignoring them is where fleets get burned.
First, missing warnings reduce the effectiveness of training. Even good operators forget details when switching between machine types, attachment setups, or brands. A visible warning at the exact hazard point reinforces the habit at the moment it matters.
Second, damaged labels make post-incident investigations uglier. If someone gets hurt around a known hazard and the warning label was missing, painted over, or unreadable, the conversation changes immediately. Now the question is not just what happened. It is whether the fleet allowed a known safety deficiency to stay in service.
Third, decals matter during resale and rental turns. Buyers notice when labels are faded, mismatched, or gone. It signals poor attention to detail. Rental customers and temporary operators depend on visible warnings even more than owner-operators do.
Field Example
A contractor repaints an older compact machine before sale. The finish looks great, but several factory warning decals near the lift arm, engine cover, and quick coupler never get replaced. The buyer notices immediately, assumes the machine was prettied up without real reconditioning, and uses it as leverage during negotiation. What looked like a cosmetic shortcut becomes a pricing problem.
Why Decals Fail in the Field
Most safety labels do not disappear all at once. They degrade in predictable ways.
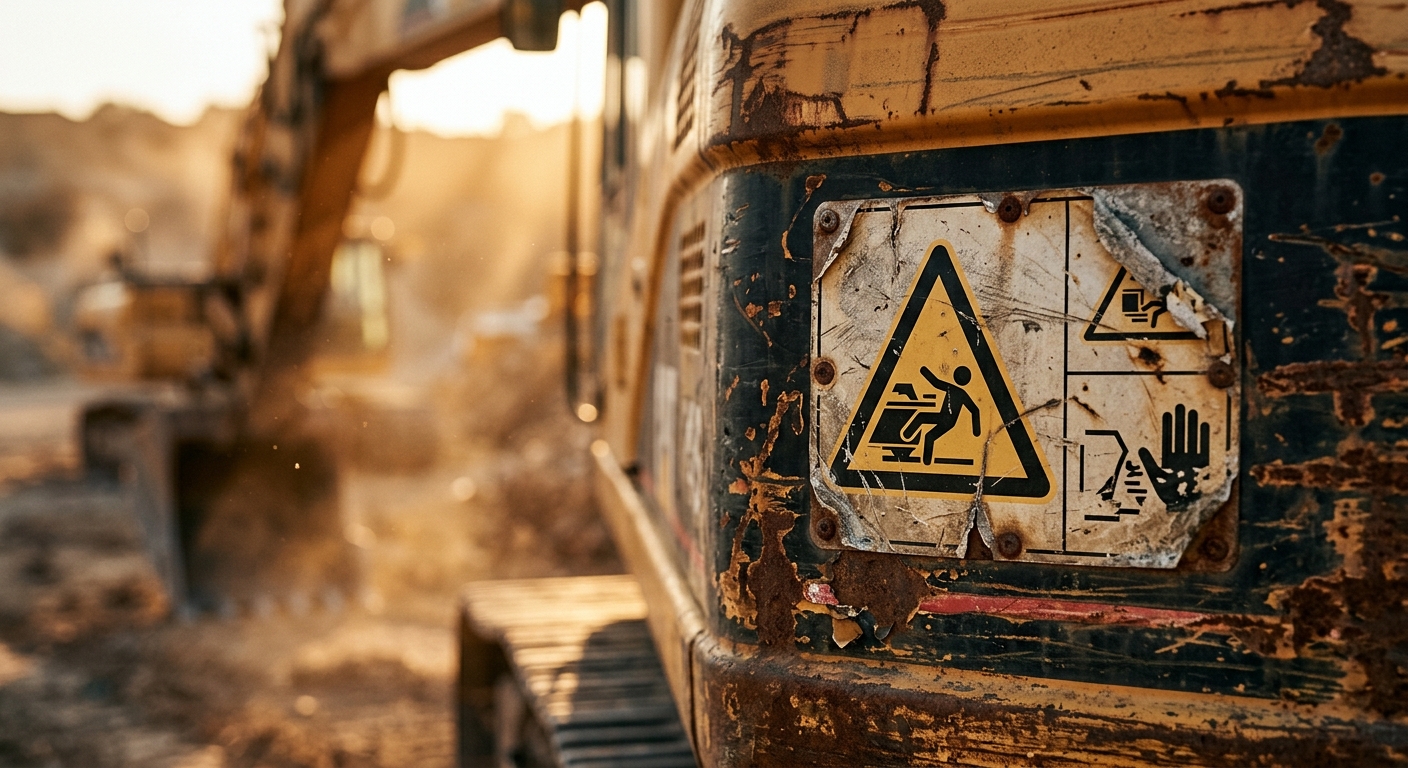
1. UV exposure
Machines that live outside lose decal contrast fast. Reds fade. Blacks go gray. Fine print becomes a ghost.
2. Pressure washing and chemicals
Aggressive wash-down, degreasers, and solvent overspray attack edges and adhesives. Good cleaning helps machines. Bad cleaning kills labels.
3. Abrasion
Boot traffic, brush, chain contact, hoses, and debris wear decals down, especially around steps, panels, attachment points, and service doors.
4. Repainting and body repair
This is one of the biggest killers. Shops focus on metal and paint, then forget to reinstall the exact safety labels the machine left with.
5. Heat and contamination
Engine compartments, hydraulic heat, oil residue, and dust bake labels until they curl, crack, or become unreadable.
Fleets That Inspect Decals Routinely
Pros:
- Catch missing warnings before incidents or inspections
- Protect resale presentation
- Standardize repairs after repainting or damage
Cons:
- Requires checklist discipline
- Needs part-number tracking for replacement sets
Fleets That Ignore Decals Until Someone Complains
Pros:
- Saves a few minutes today
Cons:
- Labels disappear gradually, so problems go unnoticed
- Machines come back from paint or body work incomplete
- Liability gets worse precisely when records are needed
A Practical Inspection Schedule
The fix here is not complexity. It is rhythm.
Decal checks should be folded into other work that already puts eyes on the machine. That includes pre-rental prep, periodic maintenance, full wash-downs, intake inspections, collision repair, attachment swaps, and repainting.
Recommended Safety Decal Inspection Rhythm
Monthly or every 250 hours:
- Walk the machine and verify major hazard labels are present and readable
- Check labels near steps, engine covers, cabs, articulation points, and attachment interfaces
- Photograph any faded or damaged warnings that need replacement
Every 500 hours or scheduled PM:
- Compare visible safety labels to a standard checklist for that machine type
- Inspect labels after wash-down while surfaces are clean
- Verify new body panels, guards, or covers still carry the required warnings
After repainting, panel replacement, or major repair:
- Confirm every removed label is reinstalled in the correct location
- Replace any label contaminated by paint, filler, or overspray
- Do not release the machine until the warning package is complete
Before resale or rental:
- Treat safety label condition like tires, glass, lights, and alarms
- Replace anything faded enough to make a buyer or renter squint
Simple rule
If the label cannot be read from a normal working position, it has already failed the real-world test.
Step-by-Step Decal Inspection Checklist
Here is a practical field process that works without dragging the machine down for half a day.
Start with the operator side
Look at the cab entry, seat belt reminder area, control warnings, emergency exit labeling, and any startup or restraint-related safety graphics. These are the labels most frequently seen and most often ignored because people assume they are “fine.”
Walk common hazard zones
Move around the machine and inspect:
- Boom, stick, lift-arm, and articulation pinch points
- Engine access doors and cooling areas
- Hydraulic service points and stored-pressure warnings
- Battery and electrical compartments
- Attachment couplers, lock pins, and exclusion-zone areas
- Counterweight swing radius areas
- Tie-down, lift, and transport points
Check readability, not just presence
Do not mark a decal good just because some vinyl still exists. Confirm:
- Hazard symbol is visible
- Signal word is readable
- Critical instructions are readable
- Label edges are not peeling badly
- Surface contamination is not hiding the message
Compare left to right when possible
Machines with mirrored decals make inspection easier. If the label on one side is crisp and the other is washed out, the weak side has a problem even if some text remains.
Photograph and tag the issue
If a label needs replacement, take one photo tight and one wide. Tight shows the failed condition. Wide shows the exact location. That makes ordering and installation much faster later.
Bad habit to kill
Do not let technicians write “decal damaged” with no location, no photo, and no part reference. That is how simple fixes become loose ends for weeks.
How to Replace Decals the Right Way
Replacement is easy when the fleet has a system and annoying when it does not.
1. Identify the correct label
Use the machine serial number and parts documentation whenever possible. Similar-looking machines may use different warnings, colors, part numbers, or placement.
2. Clean the surface correctly
Remove old adhesive, dirt, wax, and oil before installation. A fresh decal on a dirty panel will fail early and make the crew blame the sticker instead of the prep.
3. Install in the correct location
Close enough is not good enough. Safety labels are designed to be seen from specific angles and positions. A warning moved six inches away may miss the user’s line of sight entirely.
4. Avoid cheap shortcuts
Do not handwrite warnings with marker. Do not print office-paper substitutes and tape them on permanently. Temporary placeholders may be acceptable for internal lockout status, but not as the final repair on an in-service machine.
5. Record the replacement
Capture the date, machine, location, part number if known, and a post-install photo. That turns “I think we replaced that” into proof.
OEM vs Generic Labels: When Each Makes Sense
OEM labels are usually the right answer when:
- The label is machine-specific
- It includes a part-specific diagram or operating instruction
- It relates to load charts, capacity, or configuration
- You need exact manufacturer wording and layout
Generic labels may be acceptable when:
- The warning is universal and non-machine-specific
- The original label is an add-on fleet safety reminder rather than a manufacturer-critical warning
- You are labeling shop zones, trailers, or internal fleet hazards outside the machine’s OEM package
Do not get cute here
If the original label communicates a machine-specific hazard or procedure, use the proper replacement. A generic “warning” sticker is not a substitute for exact safety information.
Documenting Decal Compliance Across the Fleet
The biggest operational win is not replacing one decal. It is creating a repeatable system across all machines.
That system can be simple:
- Add decal condition to PM inspections
- Create machine-type checklists for common label locations
- Require photos for missing or unreadable warnings
- Track open label replacements as maintenance tasks
- Recheck decal packages after paint, panel, and attachment work
This matters even more in mixed fleets where machines move between operators, jobsites, or branches. The more handoffs you have, the less you can depend on memory.
A Better Fleet Workflow
An intake inspection flags two missing warnings on a loader: one at the quick coupler and one inside the engine access area. The tech opens a task, attaches wide and close photos, orders the correct replacements, and marks the machine as incomplete until both are installed. At the next audit, there is no debate. The record is sitting there with timestamps and photos.
If you want fewer loose ends, build the rule into the system instead of hoping the shop remembers.
Track Safety Label Inspections with FieldFix
Decal inspections are the kind of small maintenance task that gets skipped because everyone assumes someone else saw it.
FieldFix helps remove that ambiguity. You can create repeatable inspection checklists, attach photos of damaged labels, log replacement tasks, and keep a visible record that safety warnings were checked and corrected. That is useful for day-to-day operations, and it is even more useful when a machine is being sold, rented, repainted, or reviewed after an incident.
Stop Treating Missing Safety Labels Like a Cosmetic Problem
If a machine warning is faded, torn, painted over, or gone, it is already a maintenance issue. Track decal inspections inside FieldFix so the fix actually gets assigned, documented, and closed.